If you’re a food blogger, you know how important it is to have beautiful food photos. Great images can make all the difference in helping your recipes shine and stand out on social media. But professional food photography can be expensive – so how can you get those mouthwatering shots without spending a fortune?
Fear not, fellow food lovers! Here are a few tips and tricks for taking fantastic food photos on a budget.
1. Embrace Natural Light
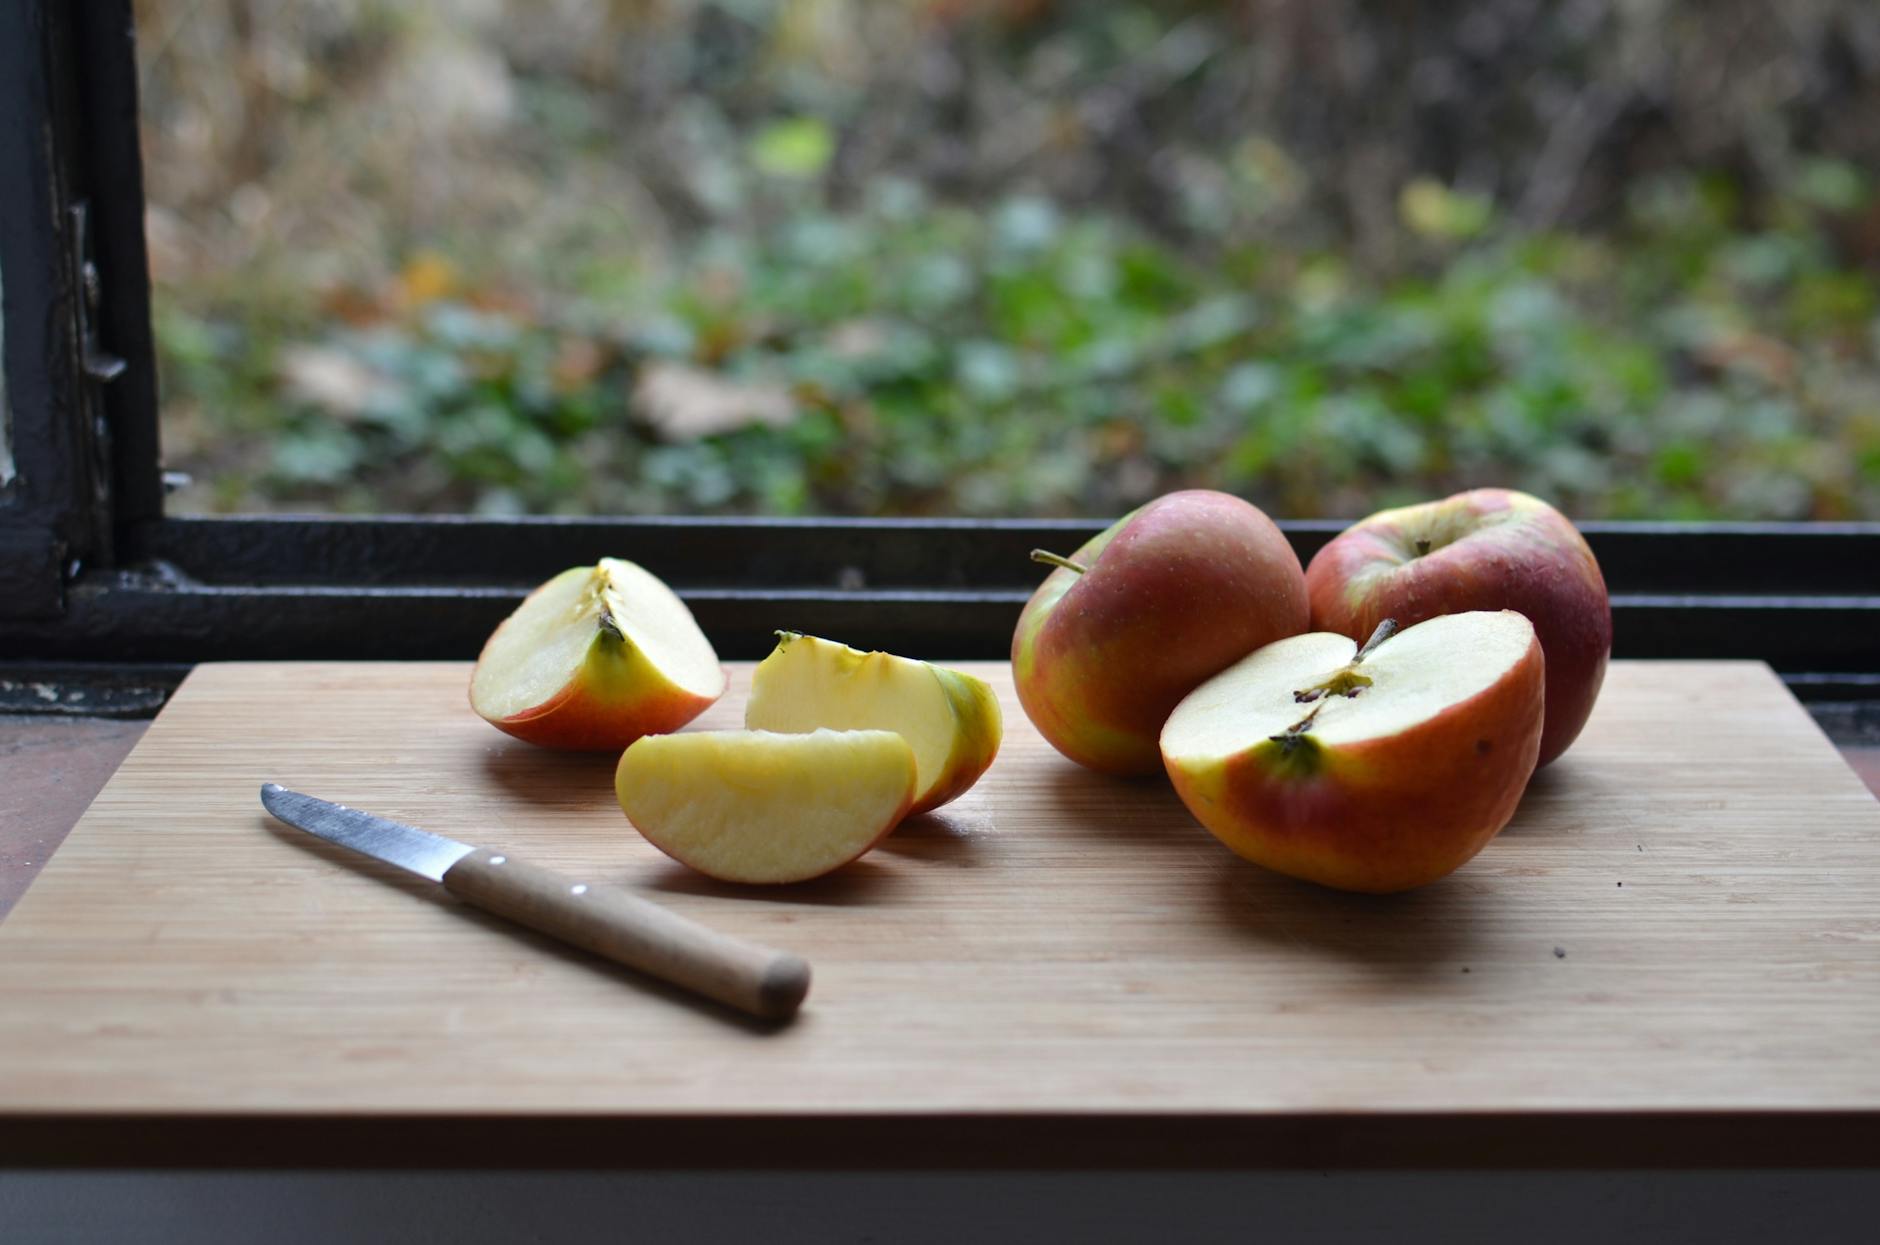
Gorgeous food photography starts with great lighting, and nothing beats the quality of natural sunlight. It’s free, universally flattering, and creates that mouthwatering glow we all crave in food photos. Here’s how to harness its power:
- Find your sweet spot: Scout out your home for windows with soft, diffused light. North-facing windows are ideal, as they provide consistent light throughout the day. Avoid windows with direct, harsh sunlight that creates deep shadows.
- Time it right: The hour before sunset or after sunrise (known as the “golden hours”) cast a beautiful, warm light perfect for food. Avoid midday sun when the light is at its harshest.
- Diffuse for softness: If the light’s a bit too strong, hang a sheer white curtain or bedsheet over the window to soften and disperse the light evenly.
Bonus Tip: Even on cloudy days, natural window light is often better than artificial indoor lights. So don’t be afraid to experiment!
2. Reflectors to the Rescue: Your Shadow-Busting Sidekick
Think of reflectors as your lighting assistant, helping you achieve beautiful, balanced food photos. Here’s how they work:
- What is a reflector? It’s any surface that bounces light back towards your subject. For food photography, simple white foam board or card stock works wonders. Even a large piece of aluminium foil can do in a pinch!
- Bouncing the light: Position your reflector on the opposite side of your main light source (usually your window). The reflector will catch the light and bounce it back onto the food, filling in those harsh shadows and creating lovely highlights.
- Get creative: Experiment with angling the reflector for different effects. Holding it closer intensifies the reflected light, while positioning it further away creates softer, more diffused light.
DIY Tip: Don’t have a store-bought reflector? A large white poster board, a piece of cardboard covered in aluminium foil, or even a white t-shirt stretched over a frame can all serve as excellent DIY reflectors.
You can purchase a wide range of reflectors to suit any budget from my Amazon affiliate link here.
3. Get Creative with Backdrops: Your Budget-Friendly Playground
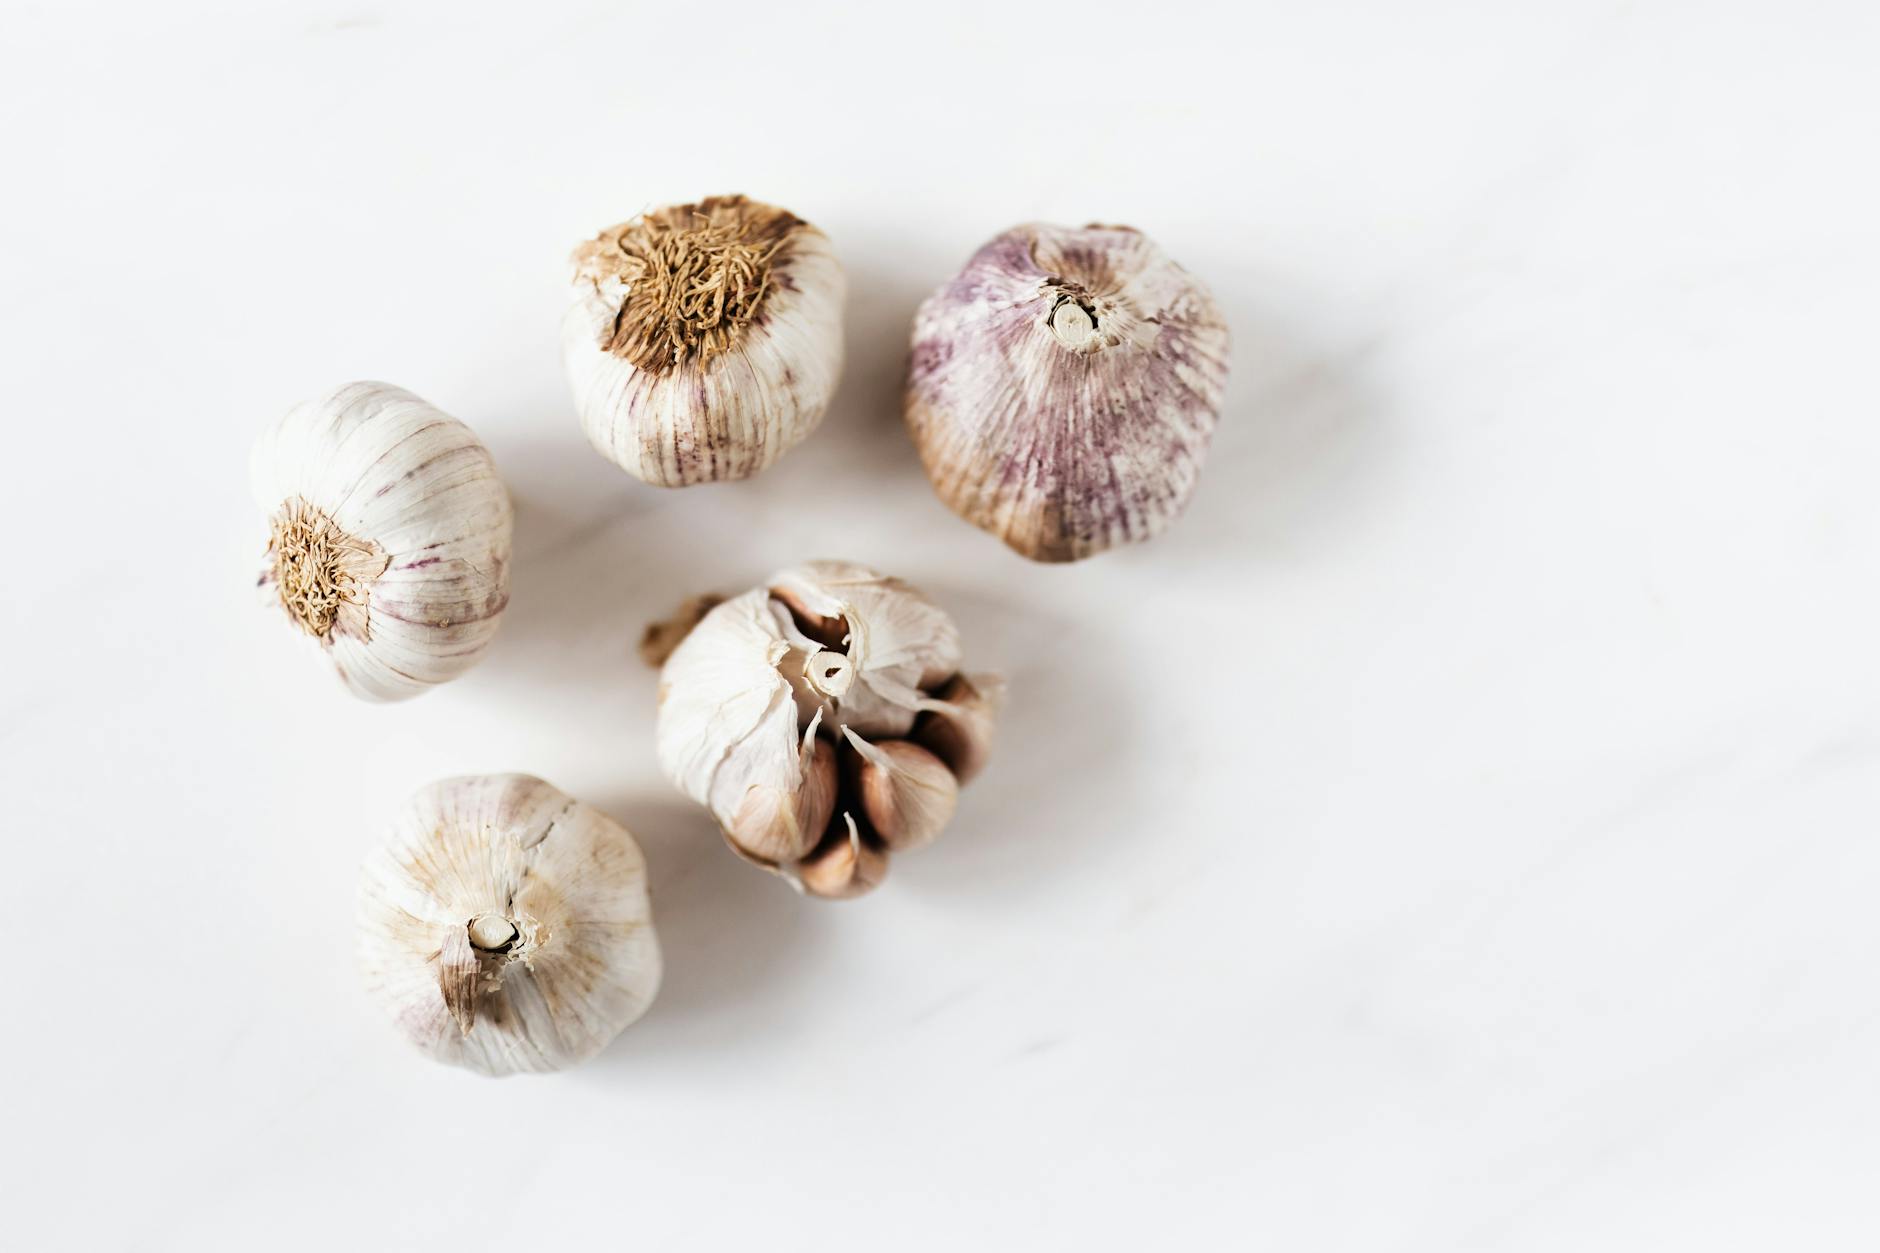
Who needs expensive photography backdrops when your home is a treasure trove of possibilities? Unleash your creativity with these backdrop ideas:
- The beauty of the basics: Don’t overlook everyday surfaces! Rustic baking sheets add instant character, wooden cutting boards provide warmth, and a simple, clean tablecloth offers a timeless base.
- Texture galore: Repurpose materials like weathered wood, distressed metal, crumpled parchment paper, or even slate tiles to create unique and textured backgrounds.
- Embrace fabric: A colorful tablecloth, a patterned tea towel, or even a vintage scarf can add a splash of personality and vibrancy to your food photos.
- Thrift store finds: Hit your local thrift store for inexpensive trays, platters, and dishes that can double as interesting backdrops.
Pro-tip: Choose backdrops that complement the colors and textures of your food. A bright, colorful salad pops against a neutral backdrop, while a rustic stew looks right at home on a worn wooden surface.
The best part? Experimenting is fun! Don’t be afraid to try unusual materials to create your own signature photo style.
4. The Power of Your Smartphone: Your Pocket-Sized Photography Studio
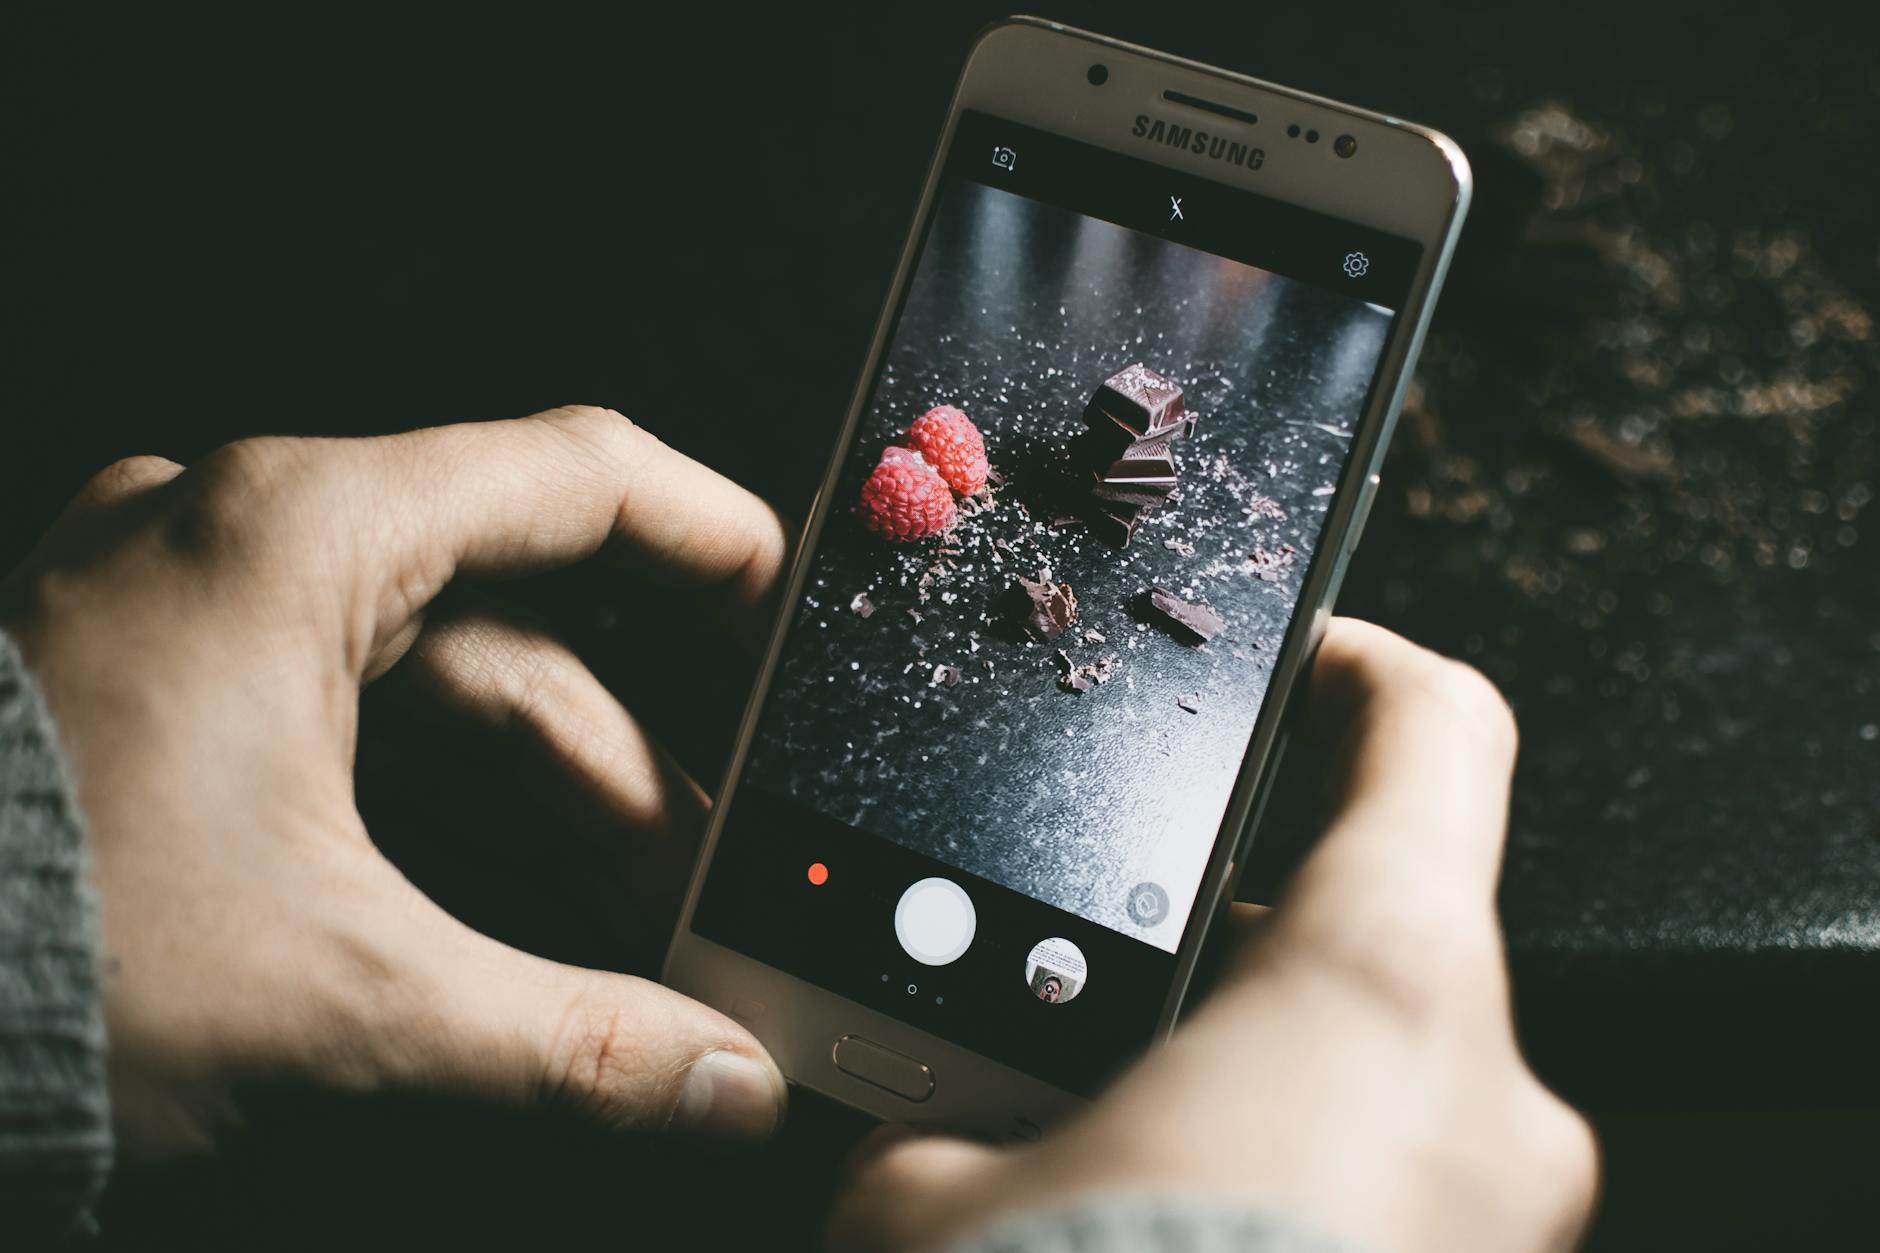
Forget the misconception that you need fancy gear for great food photos. The camera you already own – your smartphone – is a surprisingly powerful tool. Here’s how to get the most out of it:
- Know your tools: Explore your smartphone camera’s features. Familiarize yourself with its different modes and settings. Most newer smartphones offer impressive control over exposure, focus, and white balance.
- Master manual mode: If your phone has it, manual mode gives you full control over settings like shutter speed, ISO, and aperture. This allows you to fine-tune your shots and achieve specific effects.
- Embrace portrait mode: That blurry background effect isn’t just for selfies! Portrait mode is a dream for food photography, isolating your dish and creating a beautifully soft, professional-looking background.
- Stabilize for sharpness: Invest in a small smartphone tripod or get creative with makeshift solutions (think a stack of books!) to keep your camera steady for those crisp, detailed shots.
Bonus Tip: Many third-party camera apps offer even more advanced features than your phone’s built-in camera software. Experiment with different options to find your favourites.
5. Props That Don’t Cost a Penny: Enhance Your Story
Props are the spice of food photography, adding visual interest and helping tell the story of your dish. Here’s where to find amazing props without spending a dime:
- Your Kitchen’s Treasure Chest: Raid your drawers and cupboards! Vintage cutlery, well-worn whisks, textured dish towels, and colorful serving bowls can all become stars in your photos.
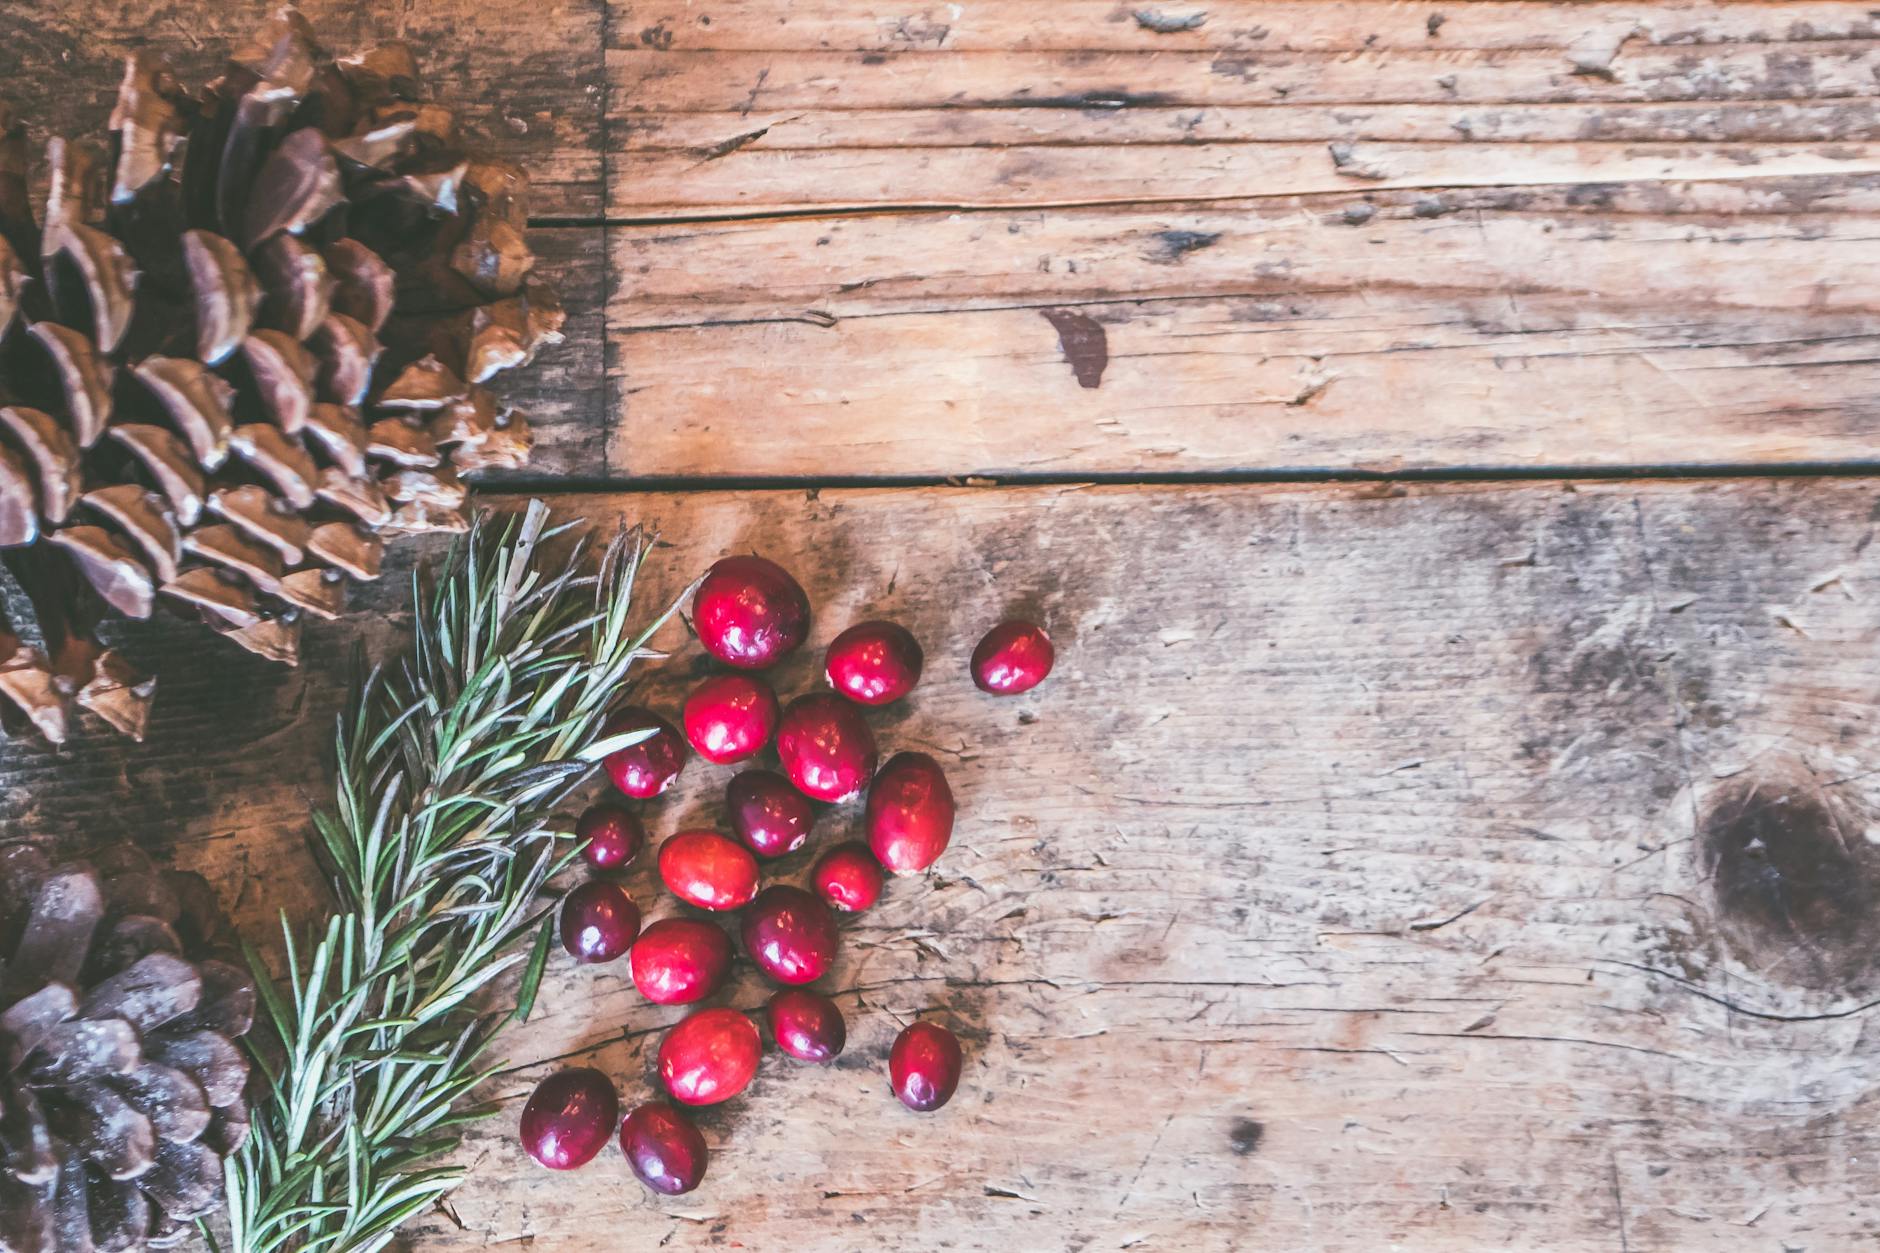
- The Bounty of Nature: Step outside and gather inspiration. Seasonal ingredients (think vibrant berries, textured leaves, or a single flower) are naturally beautiful and add authenticity to your shot.
- Spice Up the Scene: A sprinkle of herbs, a dash of vibrant spices, or a splash of olive oil can add color, texture, and a hint of the cooking process.
- Fabric Finds: Colorful napkins, patterned tea towels, or even a piece of textured fabric can add a touch of personality and frame your dish.
Remember: Props should enhance, not overpower. Choose items that complement the colors, textures, and feel of the food you’re photographing.

6. Free Photo Editing Apps: Your Post-Shoot Power-Up
Even the best-shot photos often benefit from a little editing magic. Luckily, there are powerful free apps to take your food photography to the next level:
- The Essentials: Start by mastering the fundamental editing tools common to most apps:
- Exposure: Brighten or darken your image for perfect overall light.
- Contrast: Add depth by enhancing the difference between light and dark areas.
- Saturation: Make colors pop or tone them down for a moodier feel.
- Crop: Improve composition by cropping out distracting elements.
- App-Specific Goodies:
- Snapseed: Offers advanced features like selective editing (adjusting only specific areas) and a “healing” tool to remove small imperfections.
- VSCO: Known for beautiful filters that give your photos a cohesive style. Also offers a wide range of editing tools.
- Other Great Options: Explore apps like Adobe Lightroom Mobile (a streamlined version of the popular desktop software) and PicsArt for its creative effects and collages.
Tip: Don’t over-edit! Subtle adjustments can make a huge difference, so start with small changes and build gradually.
Bonus: Many editing apps come with a community aspect where you can share your photos, get feedback, and explore the work of other food photographers for inspiration.
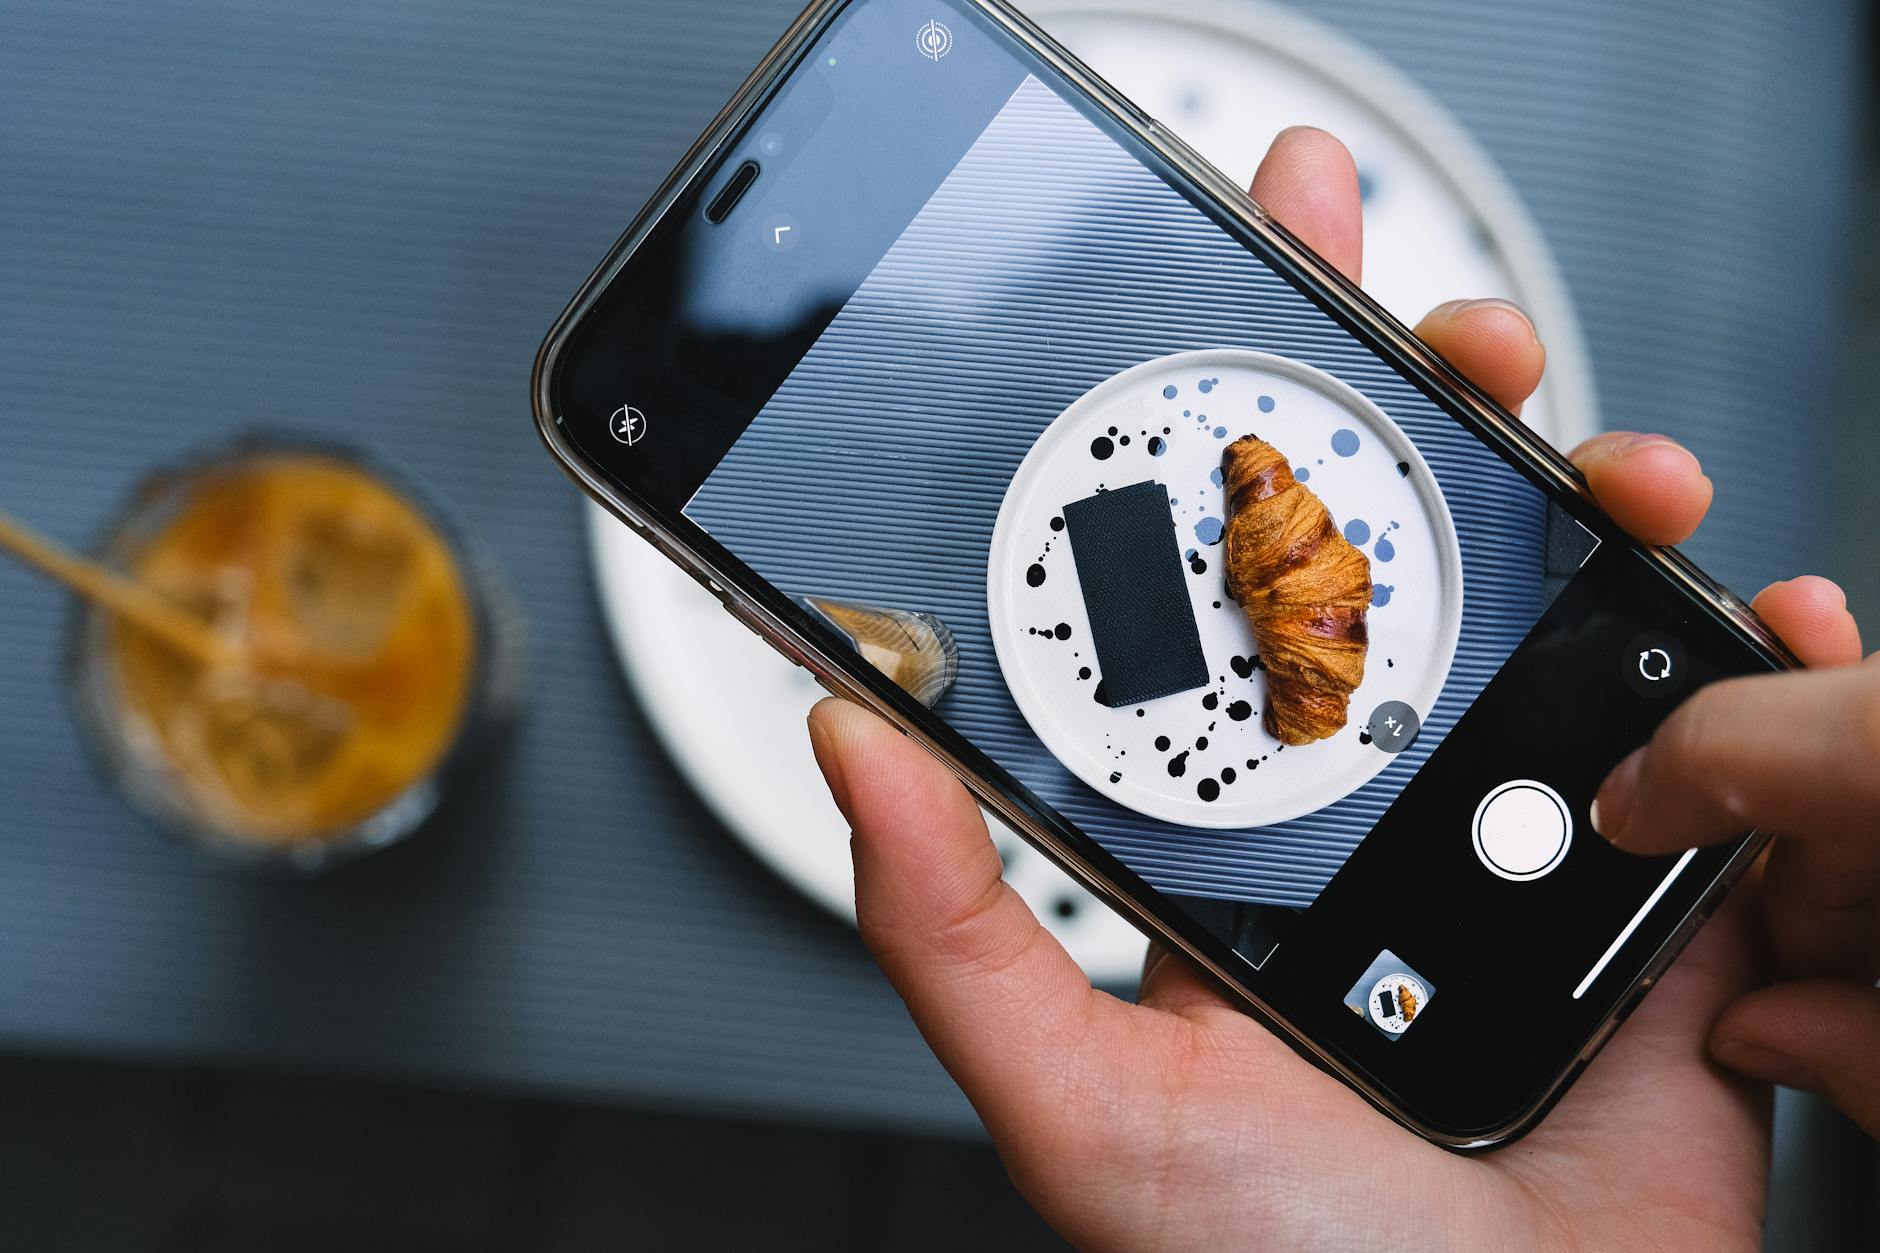
Remember: Practice Makes Perfect (and Fun!)
Becoming a skilled food photographer isn’t about expensive gear or knowing all the technical jargon. It’s about developing your eye, understanding how to work with light, and finding your unique style. Here’s how to embrace the process:
- Practice, practice, practice: The more you shoot, the more intuitive food photography becomes. Set aside time to experiment, even if it’s just snapping a few photos of your breakfast.
- Embrace the imperfect: Don’t compare your early photos to those of seasoned professionals. Focus on small improvements with each shoot. It’s all part of the learning journey!
- Explore and experiment: Play with overhead shots, close-ups, and different angles. Try unconventional compositions. Discover what sparks your creativity.
- Make it fun! Food photography should be enjoyable! Put on your favorite music, treat yourself to a fancy coffee while editing, and celebrate your progress.
The Takeaway: Don’t let a limited budget discourage you. The joy of food photography lies in the process of learning, experimenting, and capturing the deliciousness you create. With practice and a playful spirit, your photos will blossom!