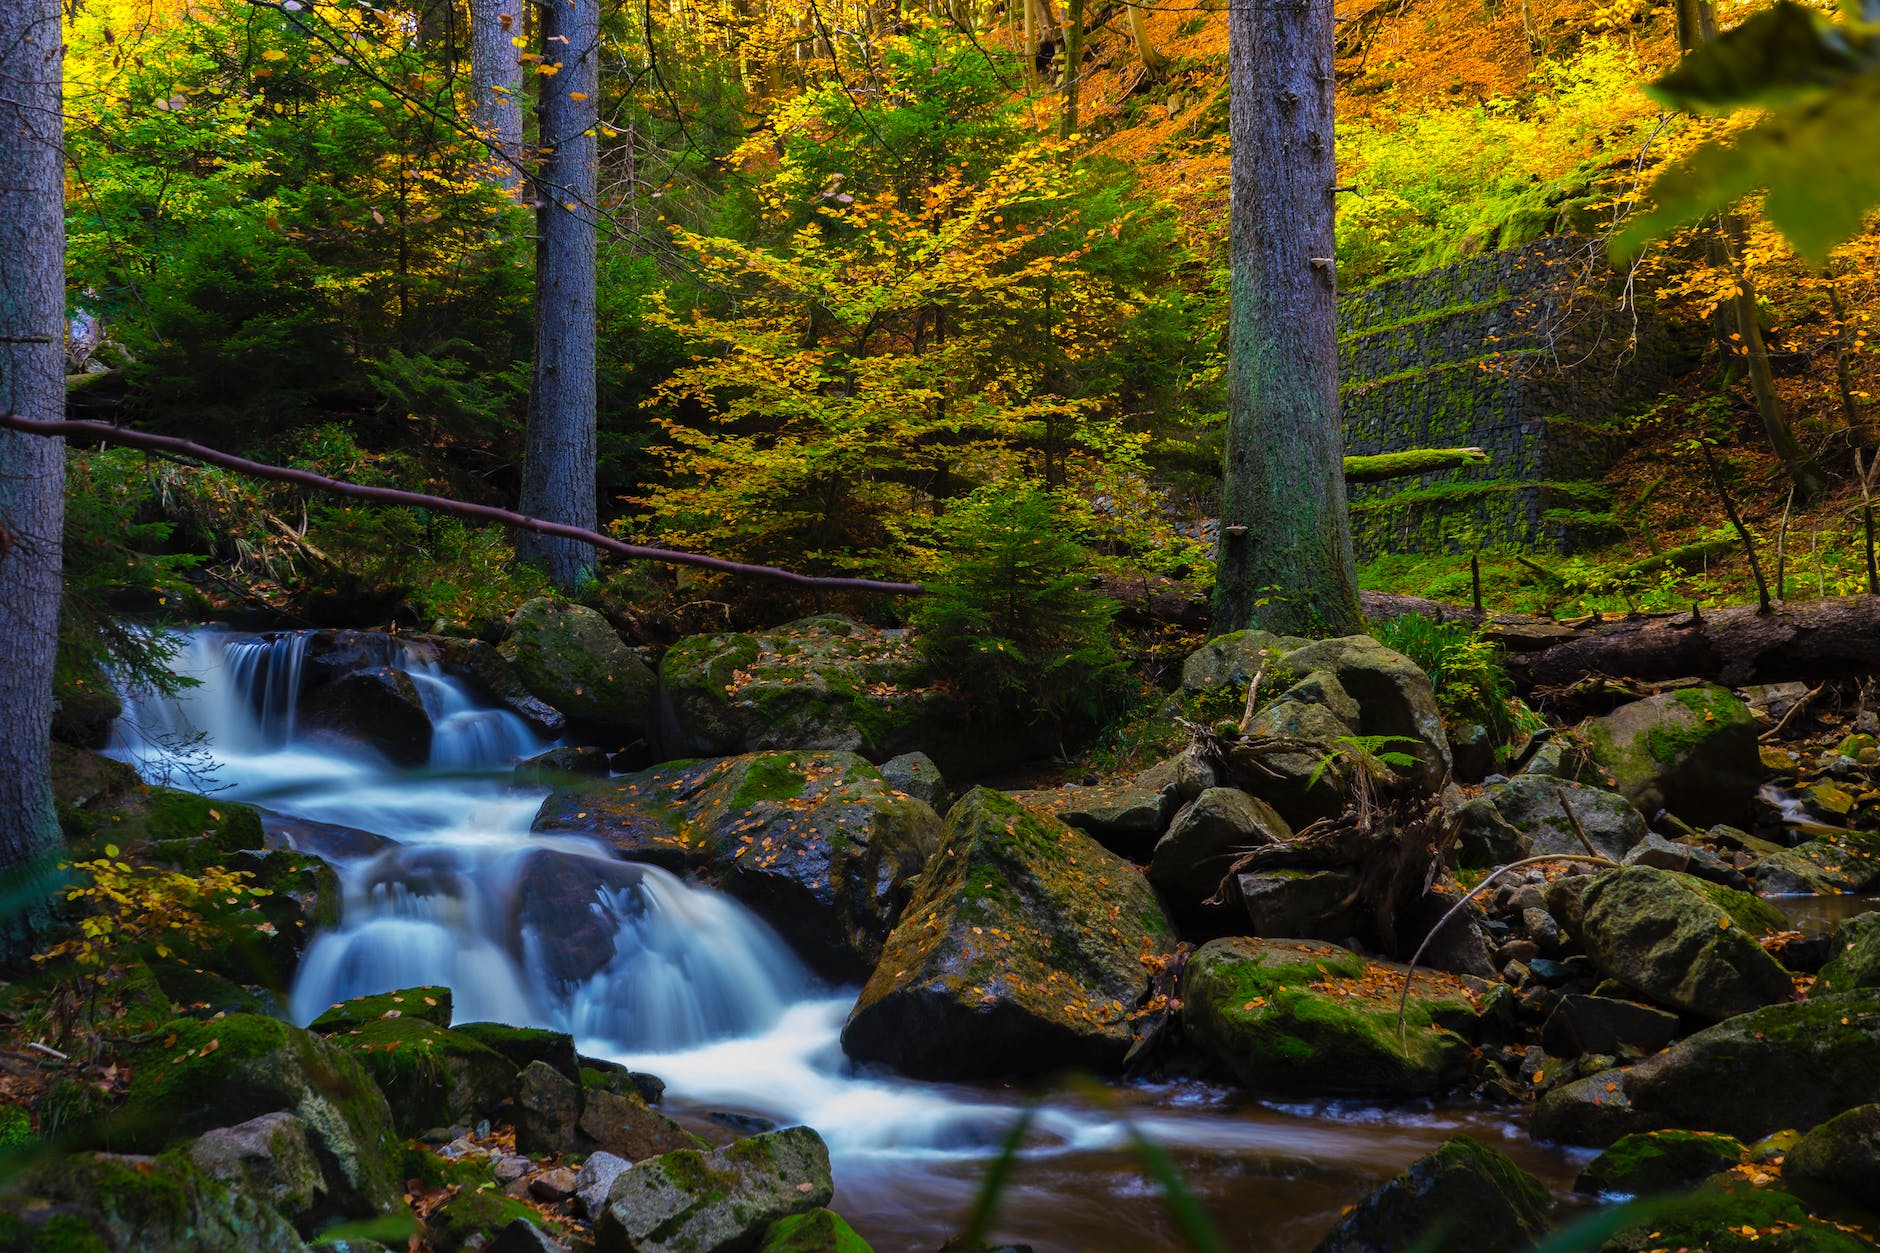
Long exposure photography is a captivating technique that allows photographers to depict a world unseen by the naked eye. By leaving the shutter open for extended periods, you can capture the beautiful effect of time and motion, creating ethereal and surreal images. Whether it’s the smooth flow of water or the bustling lights of a city, long exposure photography transforms these elements into a visual poetry.
Understanding Long Exposure Photography
Long exposure photography is a technique that transcends the traditional boundaries of capturing a moment, allowing photographers to create images that are as much about time as they are about the subject. Let’s explore this technique in greater depth:
The Essence of Time in a Frame
- Time as an Artistic Element: In long exposure photography, time becomes a visible element. By leaving the shutter open for seconds, minutes, or even hours, photographers can capture the passage of time in a single image.
- Transforming Movement: This technique uniquely illustrates motion, turning moving elements like flowing water, moving clouds, or bustling city streets into smooth, flowing elements that contrast sharply with the stillness of static objects.
Technical Aspects of Long Exposure
- Shutter Speed: The key to long exposure is a slow shutter speed. This can range from just below a second to several minutes, depending on the available light and the desired effect.
- Light Sensitivity: Long exposure increases the risk of overexposure due to the extended amount of time the sensor is exposed to light. This is why it’s often used in low light conditions or with filters to limit light intake.
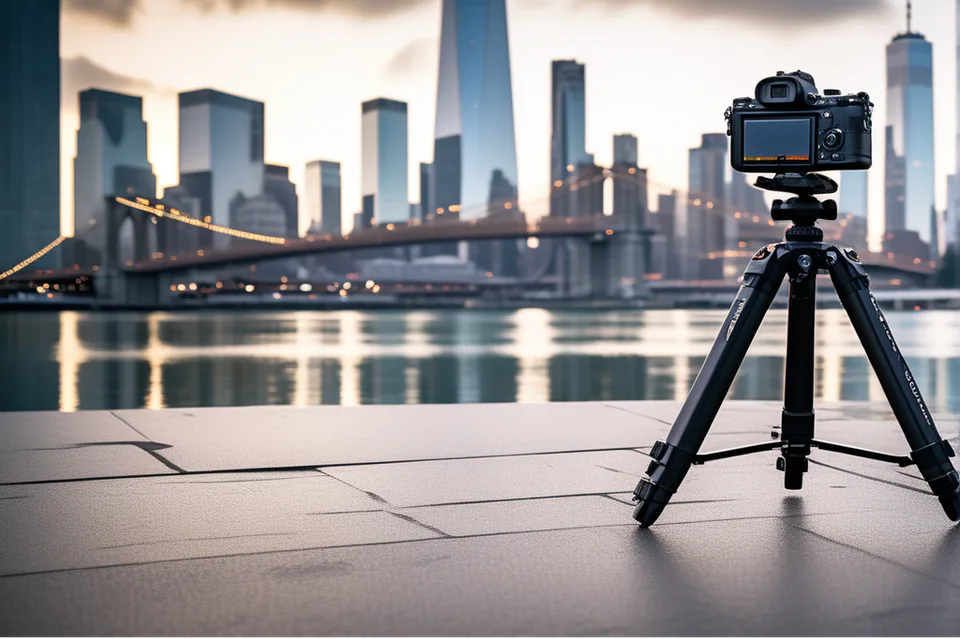
- Stability Is Crucial: Any camera movement can blur the entire image, so a sturdy tripod is an essential tool for any long exposure photography.
Creative Applications
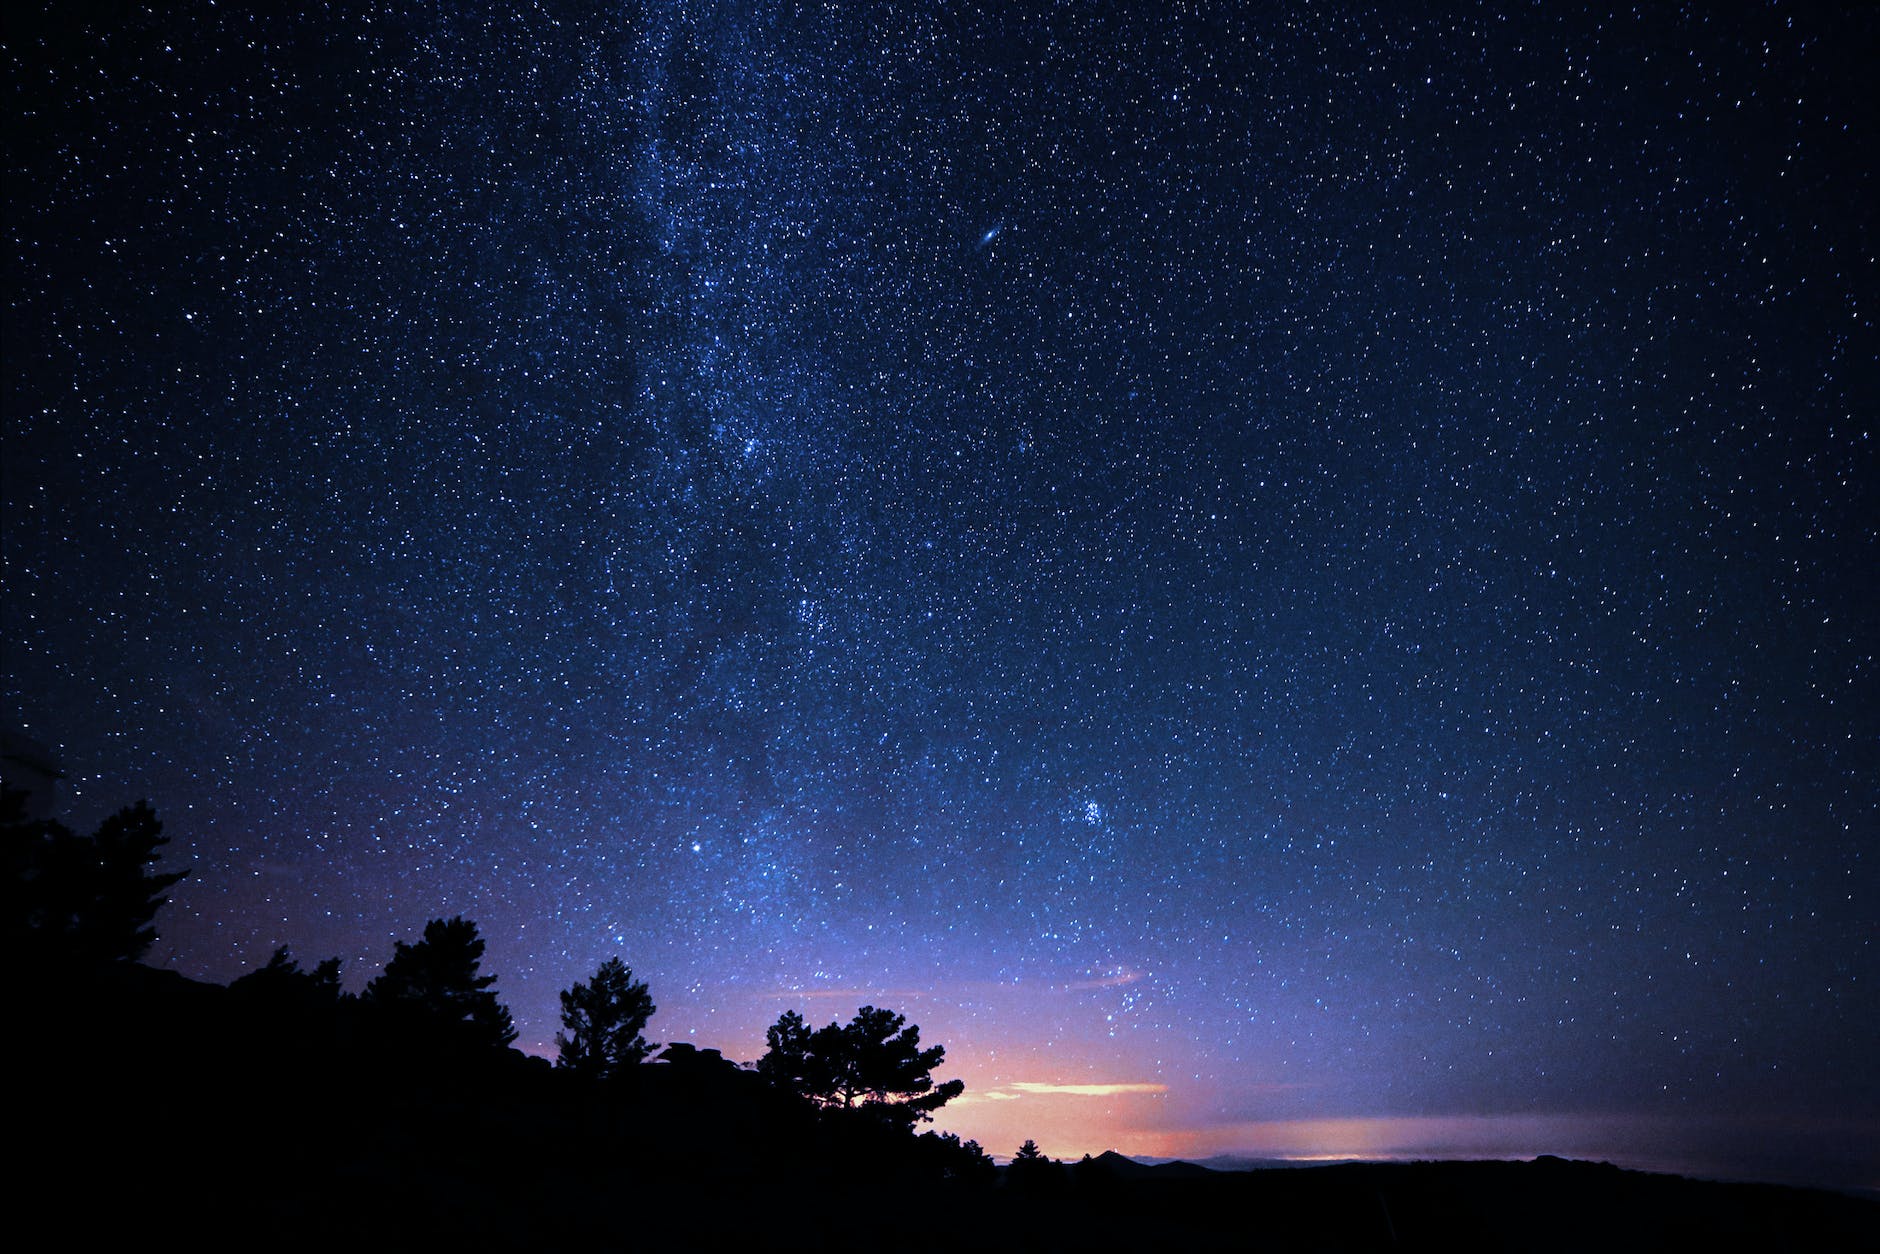
- Night Photography: Long exposure is perfect for night scenes, allowing you to capture details and light trails that are invisible to the naked eye.
- Capturing Motion: From the ethereal flow of a waterfall to the chaotic streaks of city lights, long exposure turns motion into a visual brushstroke, adding a surreal quality to the photograph.
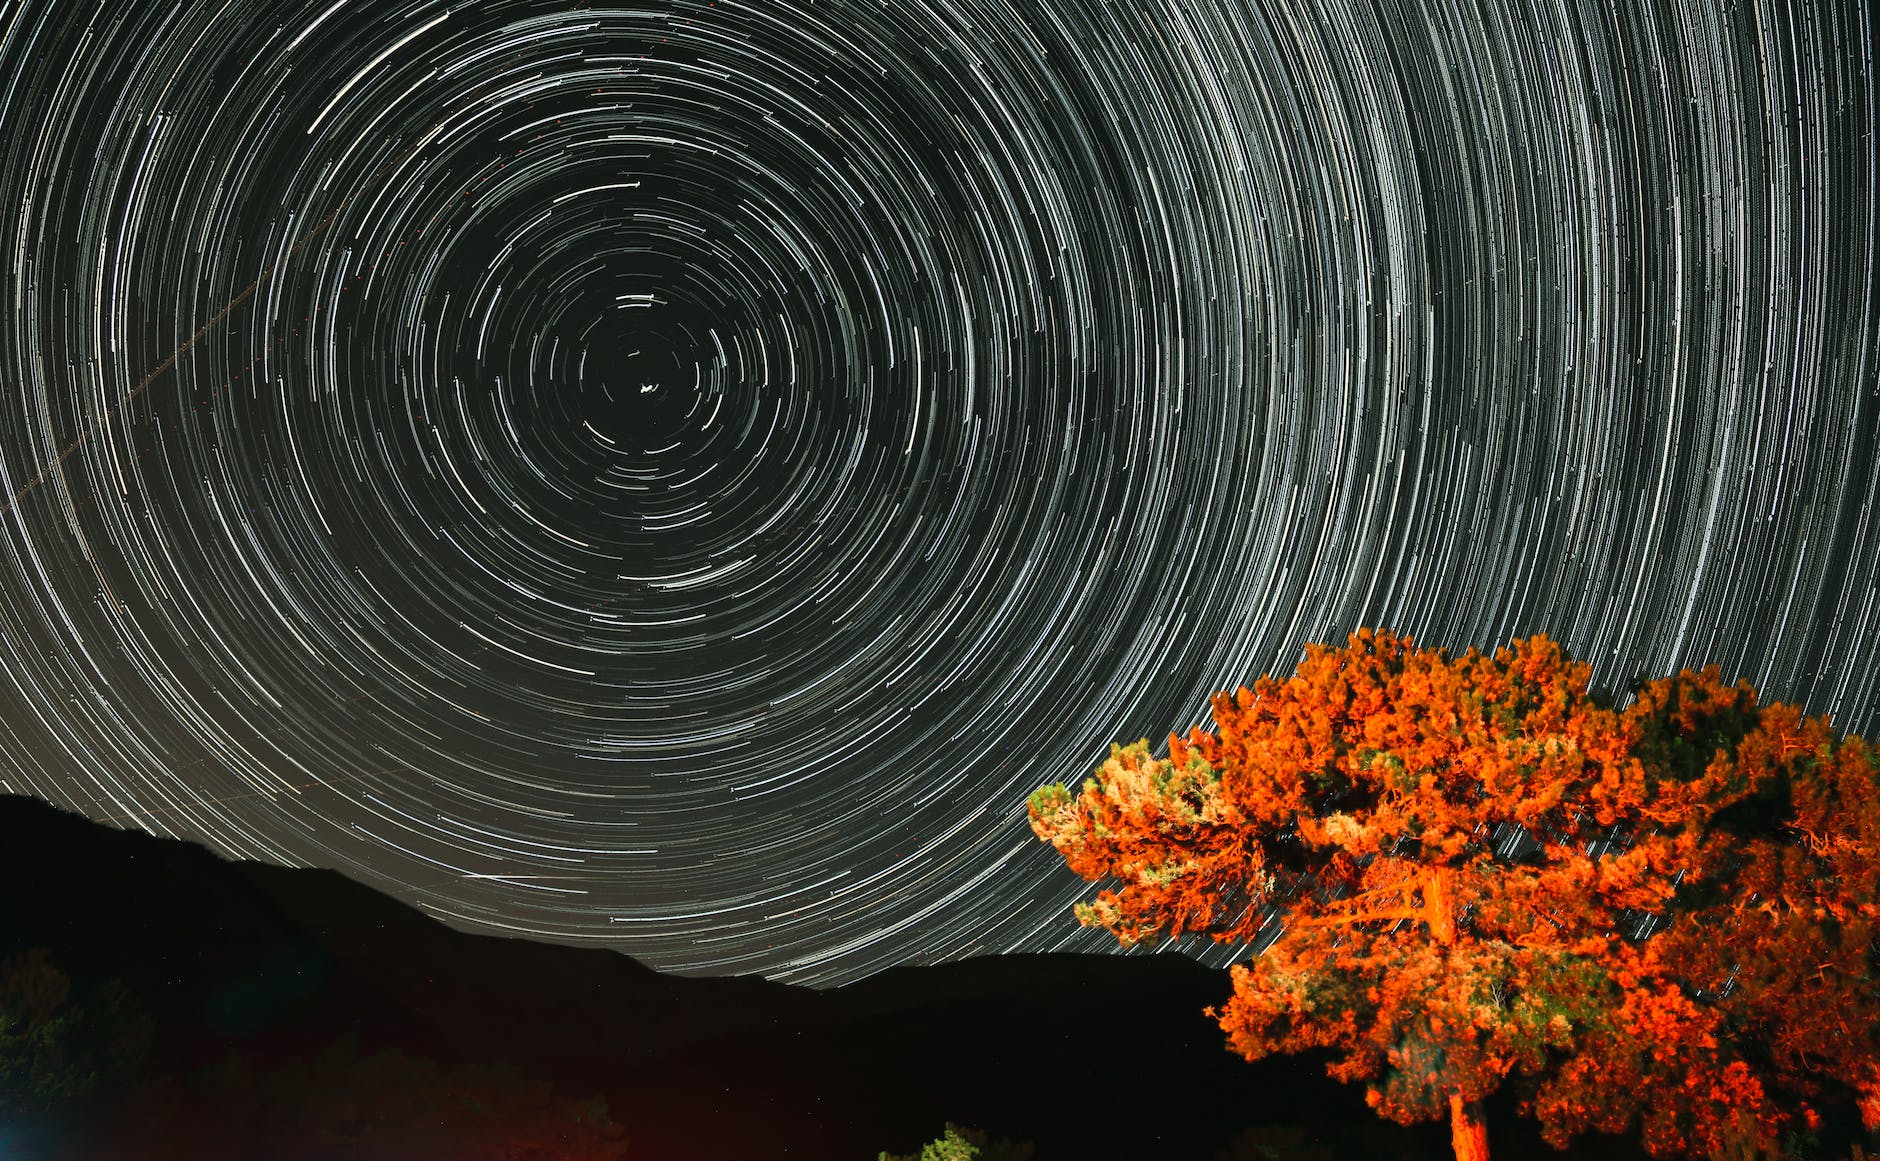
- Astrophotography: By using extremely long exposures, photographers can capture the movement of stars and celestial bodies, creating stunning star trail images.
Long Exposure in Different Environments
- Natural Landscapes: In nature, long exposure can be used to soften water, capture wind in the trees, or show the movement of clouds, adding a dreamlike quality to landscapes.
- Urban Settings: In cities, the technique is great for capturing the rush of traffic, blurring people in busy places, or highlighting the contrast between the movement of humans and the stillness of structures.
Conclusion
Long exposure photography is not just a technique; it’s a way to see the world differently. It requires technical knowledge, but more importantly, it demands a creative vision to see beyond the immediate reality and capture the unseen dance of time and light. Whether you’re a beginner or a seasoned photographer, exploring long exposure photography can add a new dimension to your photographic skills and portfolio.
Essential Equipment
Having the right equipment is crucial for successful long exposure photography. This genre requires more than just a camera and lens; it demands specific tools to handle the unique challenges it presents.
Tripod: The Foundation of Stability
- Importance of a Sturdy Tripod: A rock-solid tripod is essential to avoid any camera movement during the long exposure. Even the slightest vibration can blur the image.
- Types of Tripods: Consider a tripod that is sturdy enough to withstand wind and environmental elements, yet portable enough for travel. Carbon fibre tripods offer a good balance of stability and lightweight construction.
- Tripod Heads: A good tripod head, like a ball head or a geared head, provides smoother movements and more precise adjustments, which is critical for fine-tuning compositions.
Neutral Density (ND) Filters: Controlling the Light
- Function of ND Filters: ND filters act like sunglasses for your lens. They reduce the intensity of all wavelengths or colors of light equally, allowing for longer exposure times even in bright daylight.
- Choosing the Right ND Filter: ND filters come in various strengths, often measured in stops. A higher number of stops means more light is blocked. For example, a 10-stop ND filter is great for creating very long exposures in bright conditions.
- Variable ND Filters: These are adjustable filters that offer a range of light reduction levels in one filter, providing flexibility and convenience.
Remote Shutter Release: Eliminating Camera Shake
- Purpose of a Remote Shutter Release: This tool allows you to take a photo without physically touching the camera, eliminating the risk of camera shake when pressing the shutter button.
- Wired vs. Wireless Options: Choose between a wired remote for reliability or a wireless one for convenience, especially useful when you need to stand away from the camera.
- Intervalometers: Some remote shutters also include intervalometers, allowing you to set a timer for automatic shooting at preset intervals – a handy feature for time-lapse photography.
Additional Equipment Considerations
- Bubble Level: Ensures your camera is perfectly level, particularly important for landscape photography to keep horizons straight.
- Lens Hood: Helps prevent lens flare, especially when shooting towards light sources.
- Protective Gear: Weather can be unpredictable, so consider protective gear for both your camera and tripod to shield them from elements like rain or sea spray.
Conclusion
The right equipment in long exposure photography not only makes the process smoother but also opens up creative possibilities. While a camera and a good lens are the starting points, a sturdy tripod, the right ND filters, and a remote shutter release are the tools that transform long exposure photography from a concept into a reality. With these essentials, you’re well on your way to capturing stunning, time-stretching images.
Camera Settings for Long Exposure
Mastering the camera settings is crucial for successful long exposure photography. Each element – shutter speed, aperture, and ISO – plays a vital role in capturing the desired effect. Let’s delve into these settings in more detail:
Shutter Speed: The Key to Capturing Time
- Choosing Shutter Speed: Shutter speed in long exposure photography is significantly slower than in standard photography. For subtle blurring effects, such as softening water, speeds from 1/2 a second to a few seconds are effective. For more pronounced effects, like turning water into a silky mist or capturing star trails, you might need shutter speeds ranging from 30 seconds to several minutes.
- Using Bulb Mode: For exposures longer than 30 seconds, most cameras require the use of Bulb mode, where the shutter stays open as long as the shutter button is engaged (either manually or with a remote shutter release).
Aperture: Balancing Light and Depth
- Smaller Aperture for Depth of Field: A smaller aperture (higher f-number, e.g., f/11 to f/22) is typically used in long exposure photography. This not only helps manage the amount of light entering the lens over the extended exposure time but also ensures a larger depth of field, keeping more of the scene in sharp focus.
- Lens Sweet Spot: Each lens has a ‘sweet spot’, usually around two stops down from the widest aperture, where it performs best in terms of sharpness and minimal distortion. Experiment with your lens to find this spot for optimal results.
ISO: Minimizing Noise
- Low ISO for Quality: Keeping the ISO as low as possible (such as ISO 100 or 200) is key in long exposure photography. This minimizes noise, which can be more prominent in long exposure shots, especially in low-light conditions.
- Noise Reduction Techniques: Many cameras have built-in long exposure noise reduction features that take a second ‘dark frame’ to identify and reduce noise. Be aware that this doubles the time for each shot.
Balancing the Exposure Triangle
- Understanding the Interplay: The relationship between shutter speed, aperture, and ISO is known as the exposure triangle. Adjusting one of these settings will often require adjustments to the others to maintain the desired exposure.
- Using Manual Mode: Long exposure photography often requires full control over the camera settings, making Manual mode the preferred choice for most photographers in this genre.
Advanced Techniques
- Histograms and Highlight Warnings: Use your camera’s histogram and highlight warning features to check exposure levels during setup to avoid overexposed or underexposed areas in your final image.
- Bracketing for HDR: In high contrast scenes, consider bracketing exposures for HDR (High Dynamic Range) photography, where multiple shots at different exposures are combined for a final image with a greater dynamic range.
Conclusion
The right camera settings are fundamental in long exposure photography. They allow you to creatively capture scenes in ways that are not possible with standard photography techniques. Experimentation and practice are key, as different scenes and lighting conditions will require different settings. With time and experience, you’ll develop an intuitive understanding of how to best set your camera for the stunning long exposures.
Choosing the Right Subjects
Long exposure photography offers a unique way to view the world, turning ordinary scenes into extraordinary images. Selecting the right subjects is crucial in showcasing the technique’s dramatic effects. Let’s explore some ideal subjects and their unique characteristics in long exposure photography.
Waterfalls and Rivers: Capturing Fluid Motion
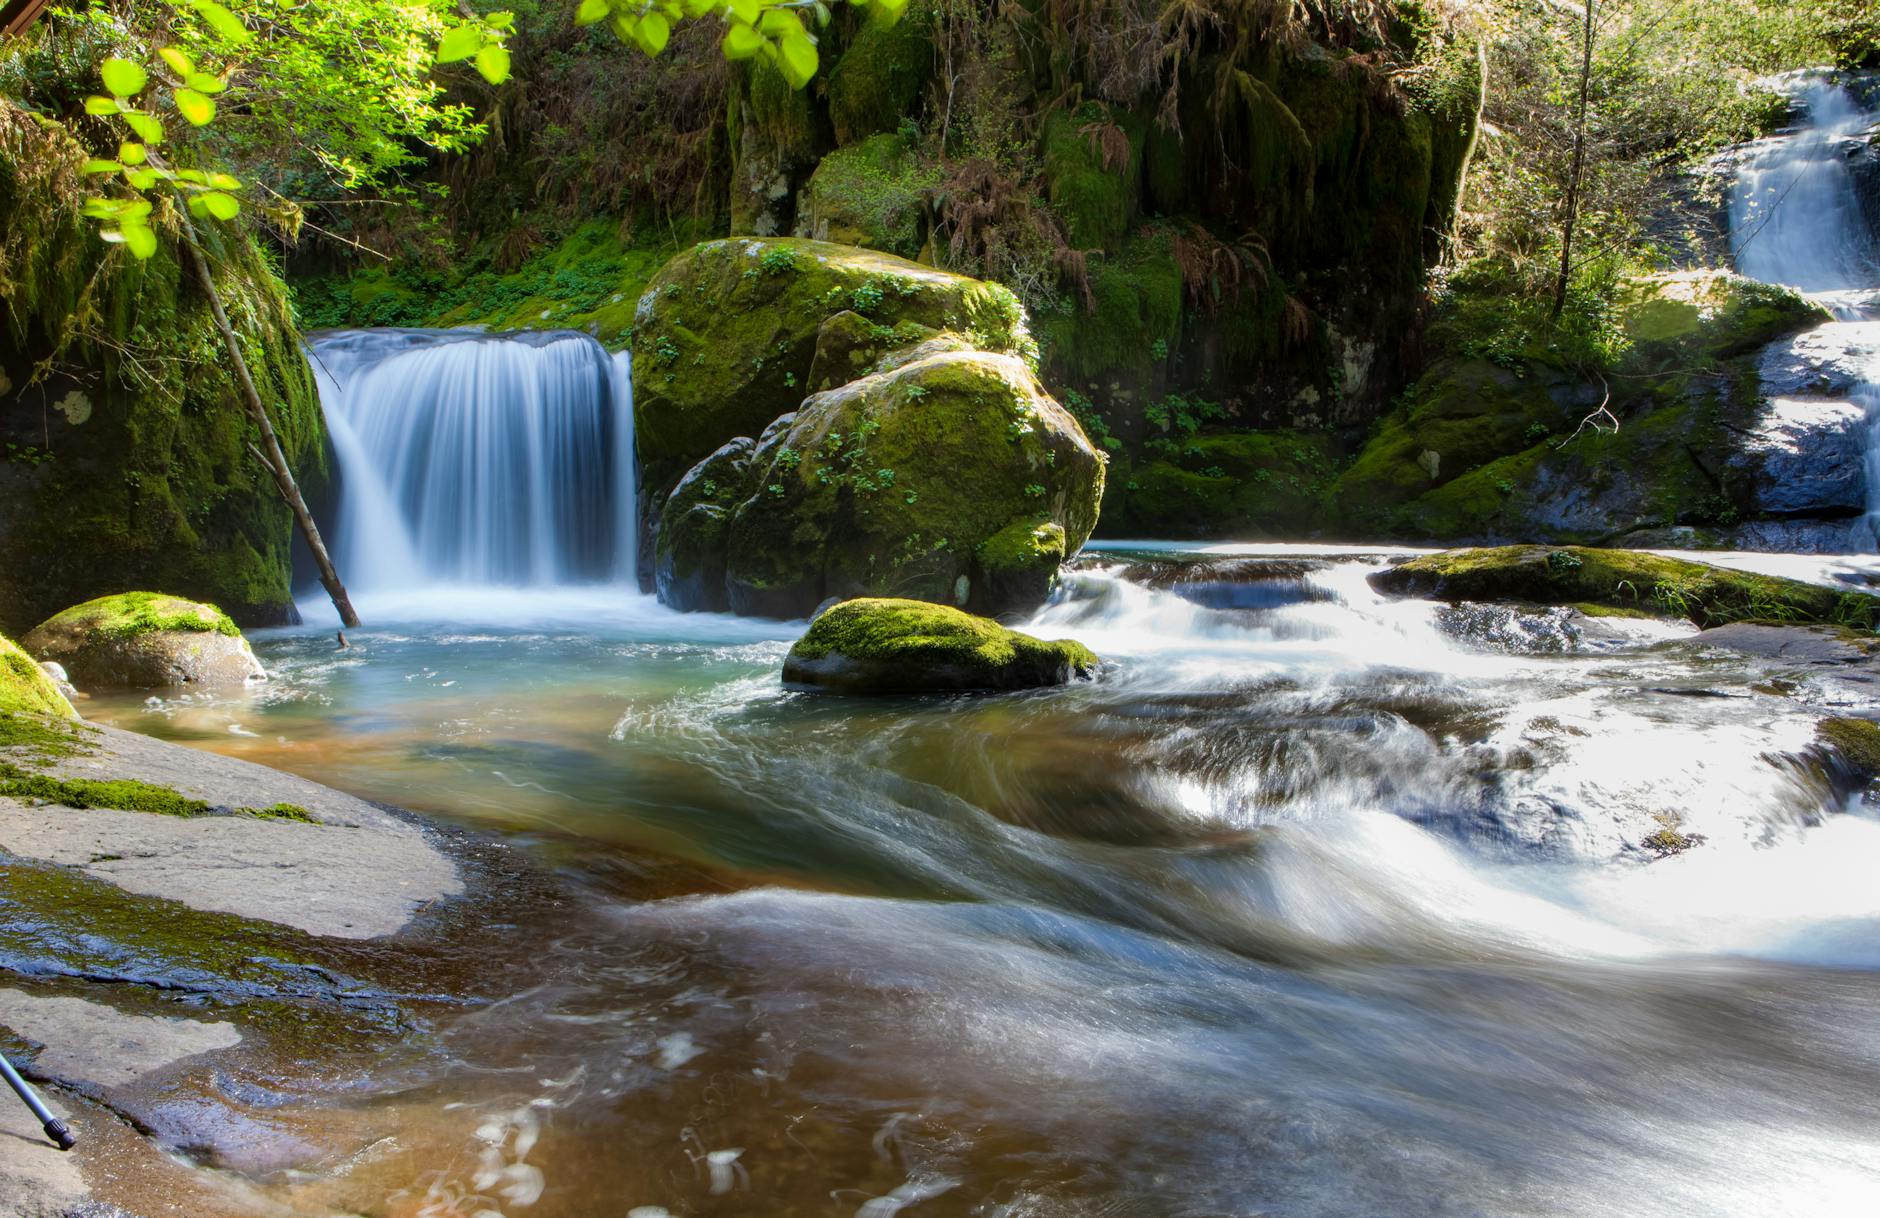
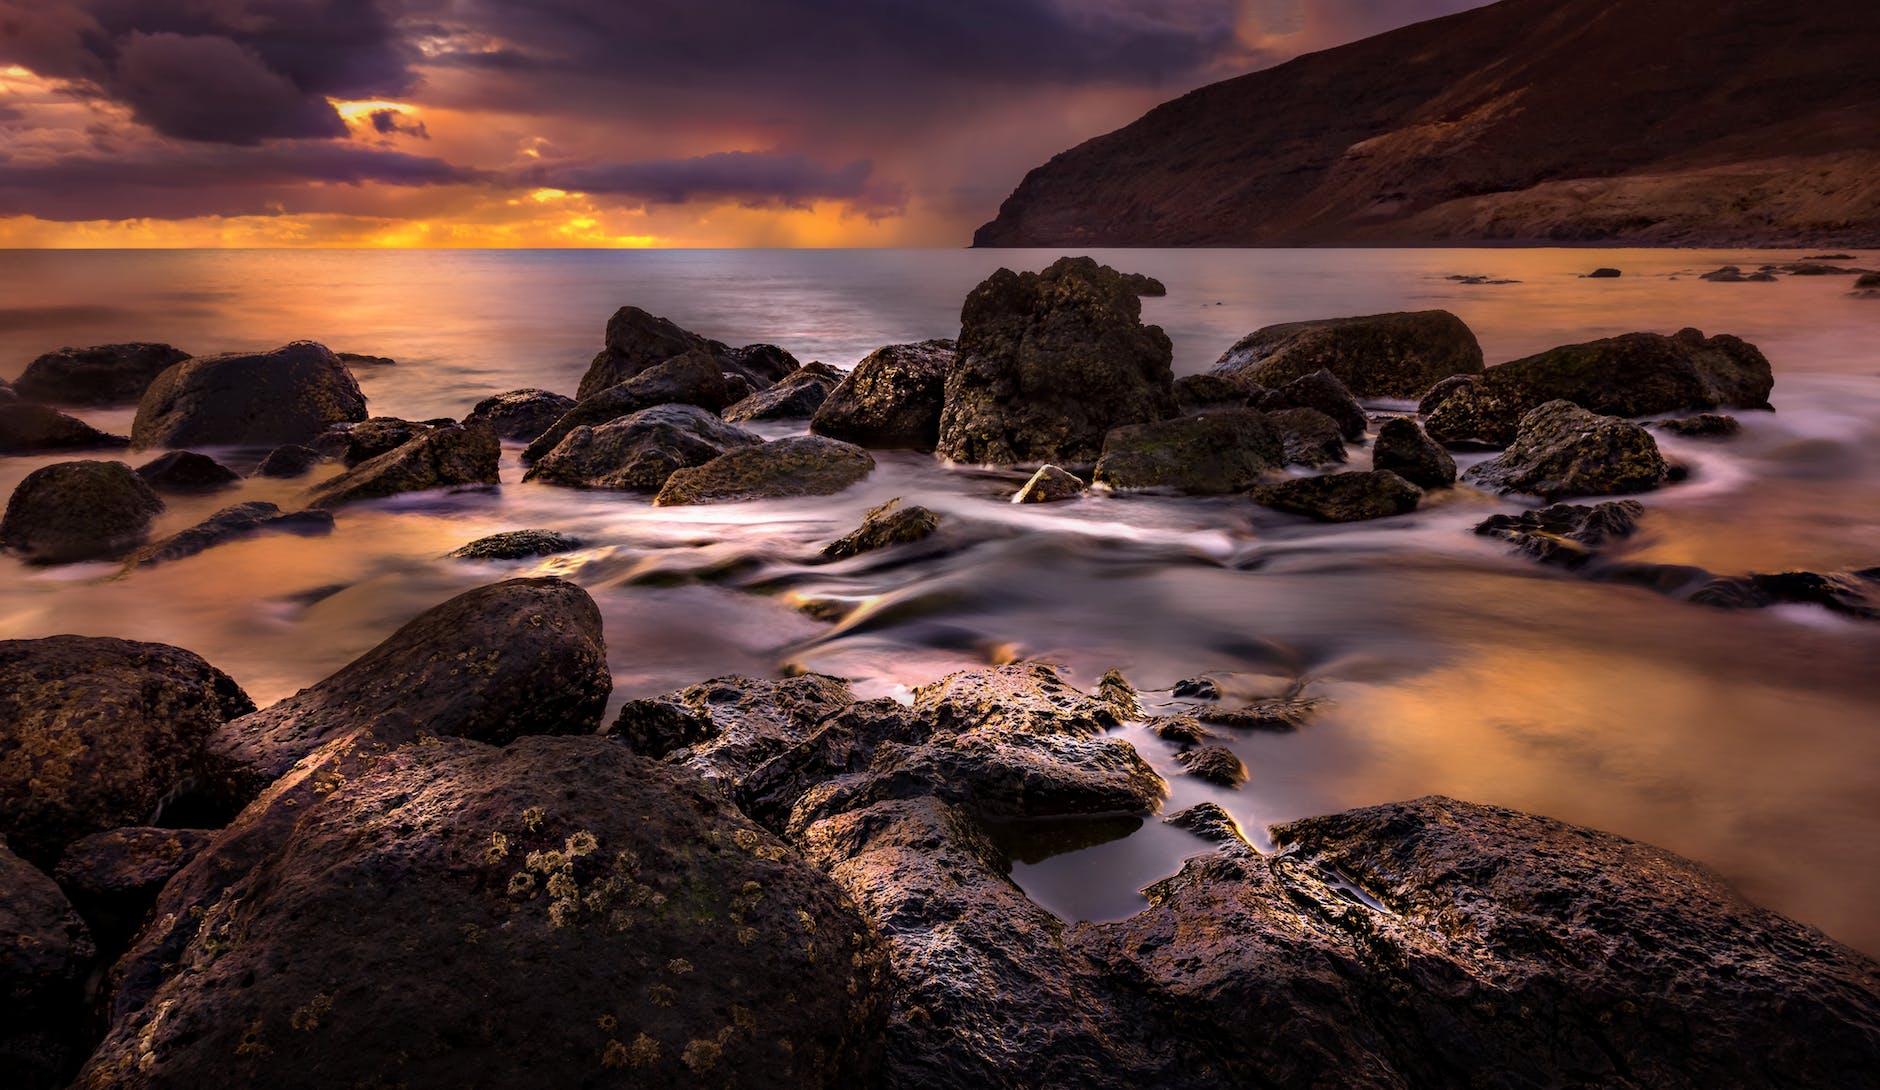
- Transforming Water into Silk: The flowing water of waterfalls and rivers, when captured with long exposures, transforms into a smooth, mist-like effect. This technique softens the water, creating a contrast with the sharp, static surroundings.
- Choosing the Right Time: Overcast days can be ideal as the diffused light reduces the contrast and glare on the water.
- Composition Tips: Include static elements like rocks or foliage to juxtapose the smooth water and add depth to the image.
Stars and Night Skies: Painting with Starlight
- Creating Star Trails: With long exposures, stars appear as light trails due to the Earth’s rotation. This effect can add a magical and surreal quality to night skies.
- Finding the Right Location: To capture star trails, find a dark location away from city lights. Clear nights with minimal moonlight are ideal.
- Camera Settings: Use a wide-angle lens, a sturdy tripod, and a remote shutter release. Exposures can range from 15 minutes to several hours for full circular star trails.
Urban Settings: The Energy of Light Trails
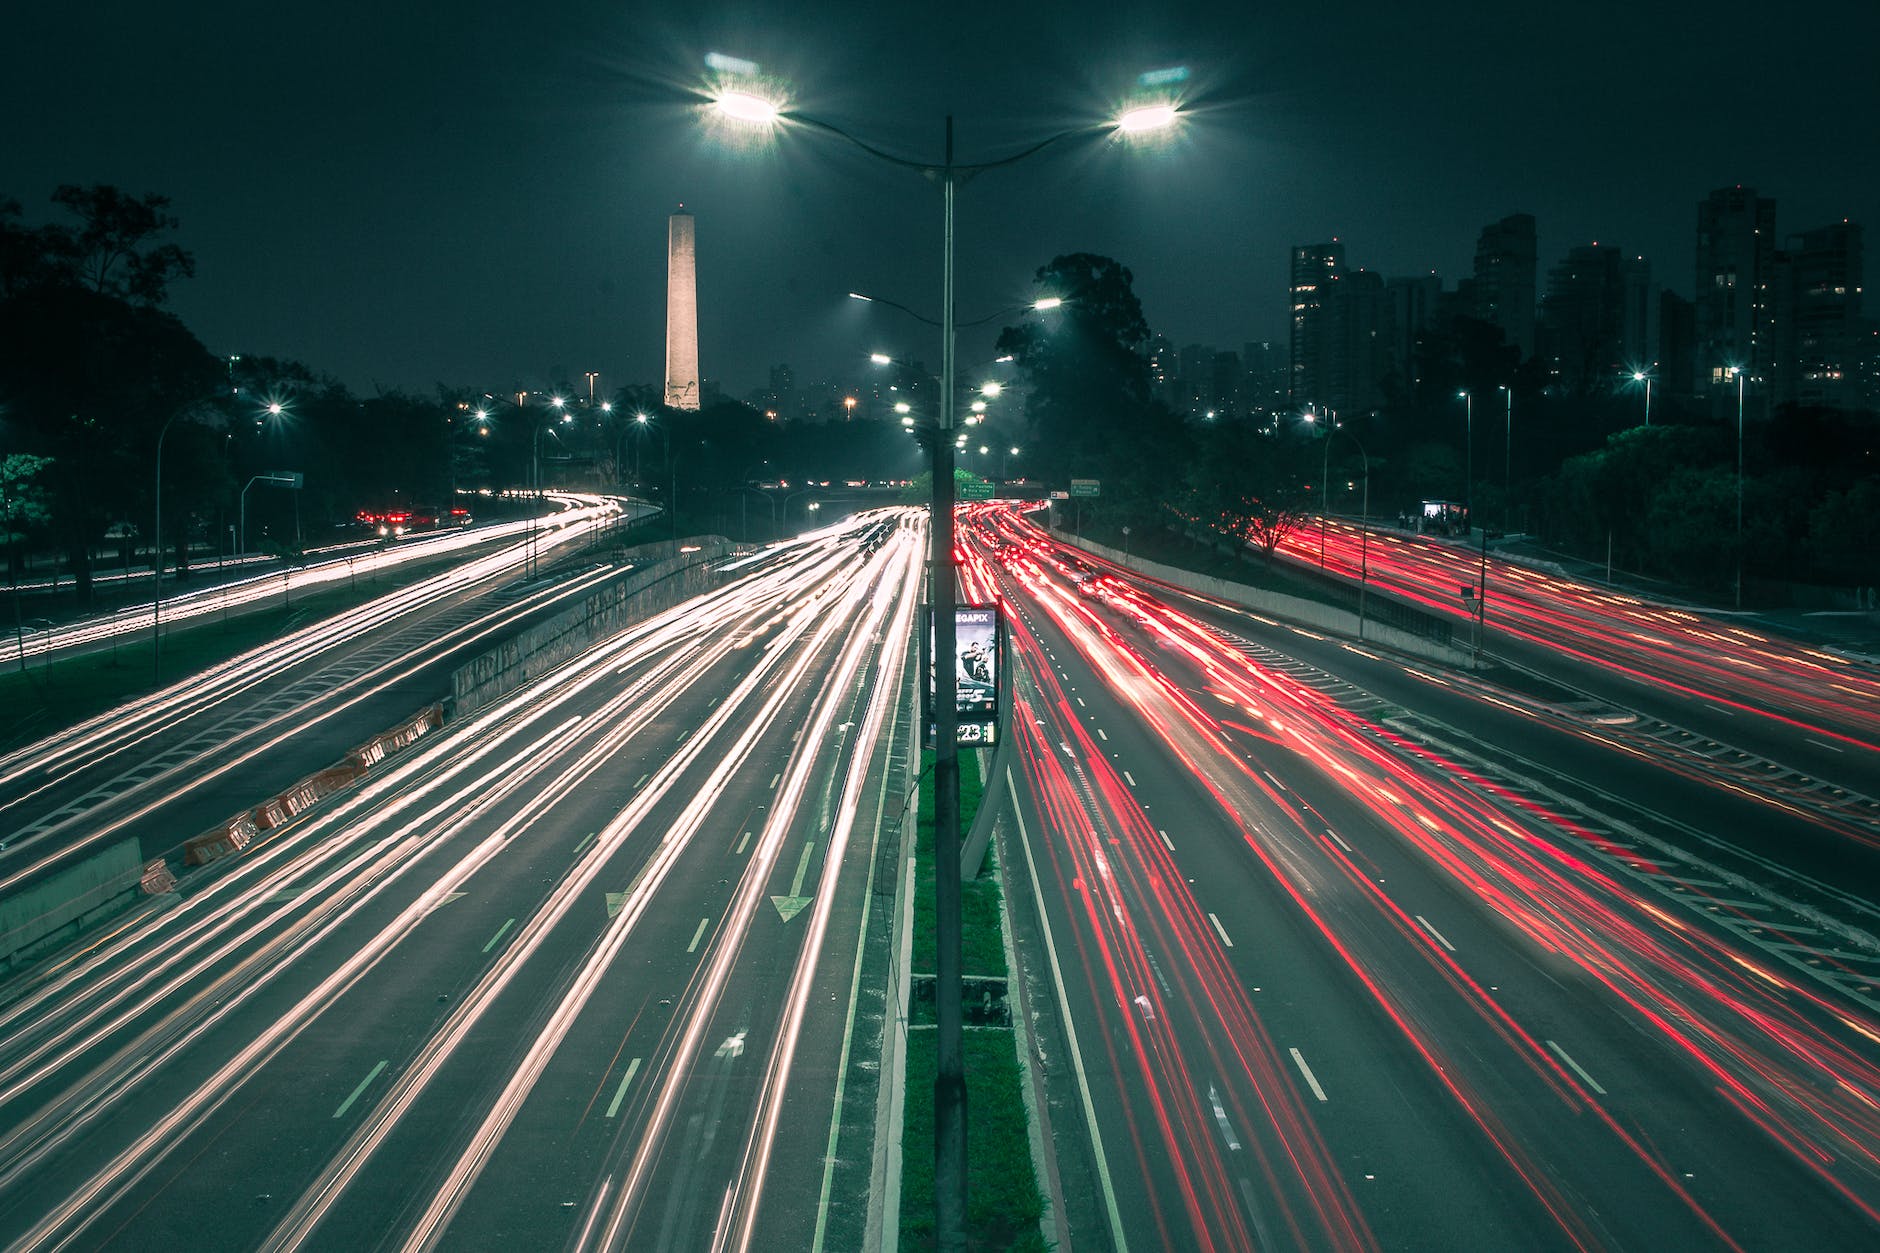
- Capturing the City’s Pulse: Long exposures in urban settings are perfect for capturing the movement of vehicles. The lights of moving cars create dynamic trails, reflecting the energy of city life.
- Best Conditions: Evening or night time is ideal when the contrast between the dark environment and the lights is greatest.
- Choosing Locations: Bridges, overpasses, or high vantage points are great for an overview of traffic. Streets with curves can add interesting patterns to light trails.
Additional Subjects for Long Exposure Photography
- Clouds in Landscapes: Moving clouds can create dramatic effects in the sky, adding a sense of motion to landscape photography.
- Seascapes: Capturing the movement of tides and waves can create a serene and dreamlike quality in coastal photographs.
- Amusement Parks: Ferris wheels and merry-go-rounds, with their moving lights, can turn into colorful, dynamic subjects in long exposures.
Conclusion
The choice of subject in long exposure photography can dramatically affect the final image. Whether it’s the ethereal flow of a waterfall, the celestial dance of star trails, or the vibrant energy of city lights, each subject offers unique opportunities to explore and create stunning photographic art. Remember, the best subject is often one that has an interesting form of motion, providing a stark contrast to the still elements in the frame.
Composition and Framing
Effective composition and framing are pivotal in long exposure photography, turning a good photo into a great one. They guide the viewer’s eye and add depth and context to the image. Let’s delve deeper into these compositional elements.
Foreground Interest: Enhancing Depth and Context
- Adding Dimension: Including interesting elements in the foreground gives a sense of depth, making the image more three-dimensional and engaging. This is especially effective in landscape photography where you want to convey the scale and depth of the scene.
- Choosing Foreground Elements: Look for objects like rocks, plants, or even man-made structures that can serve as compelling points of interest. Ensure they complement the scene and don’t distract from the main subject.
Leading Lines: Directing the Viewer’s Attention
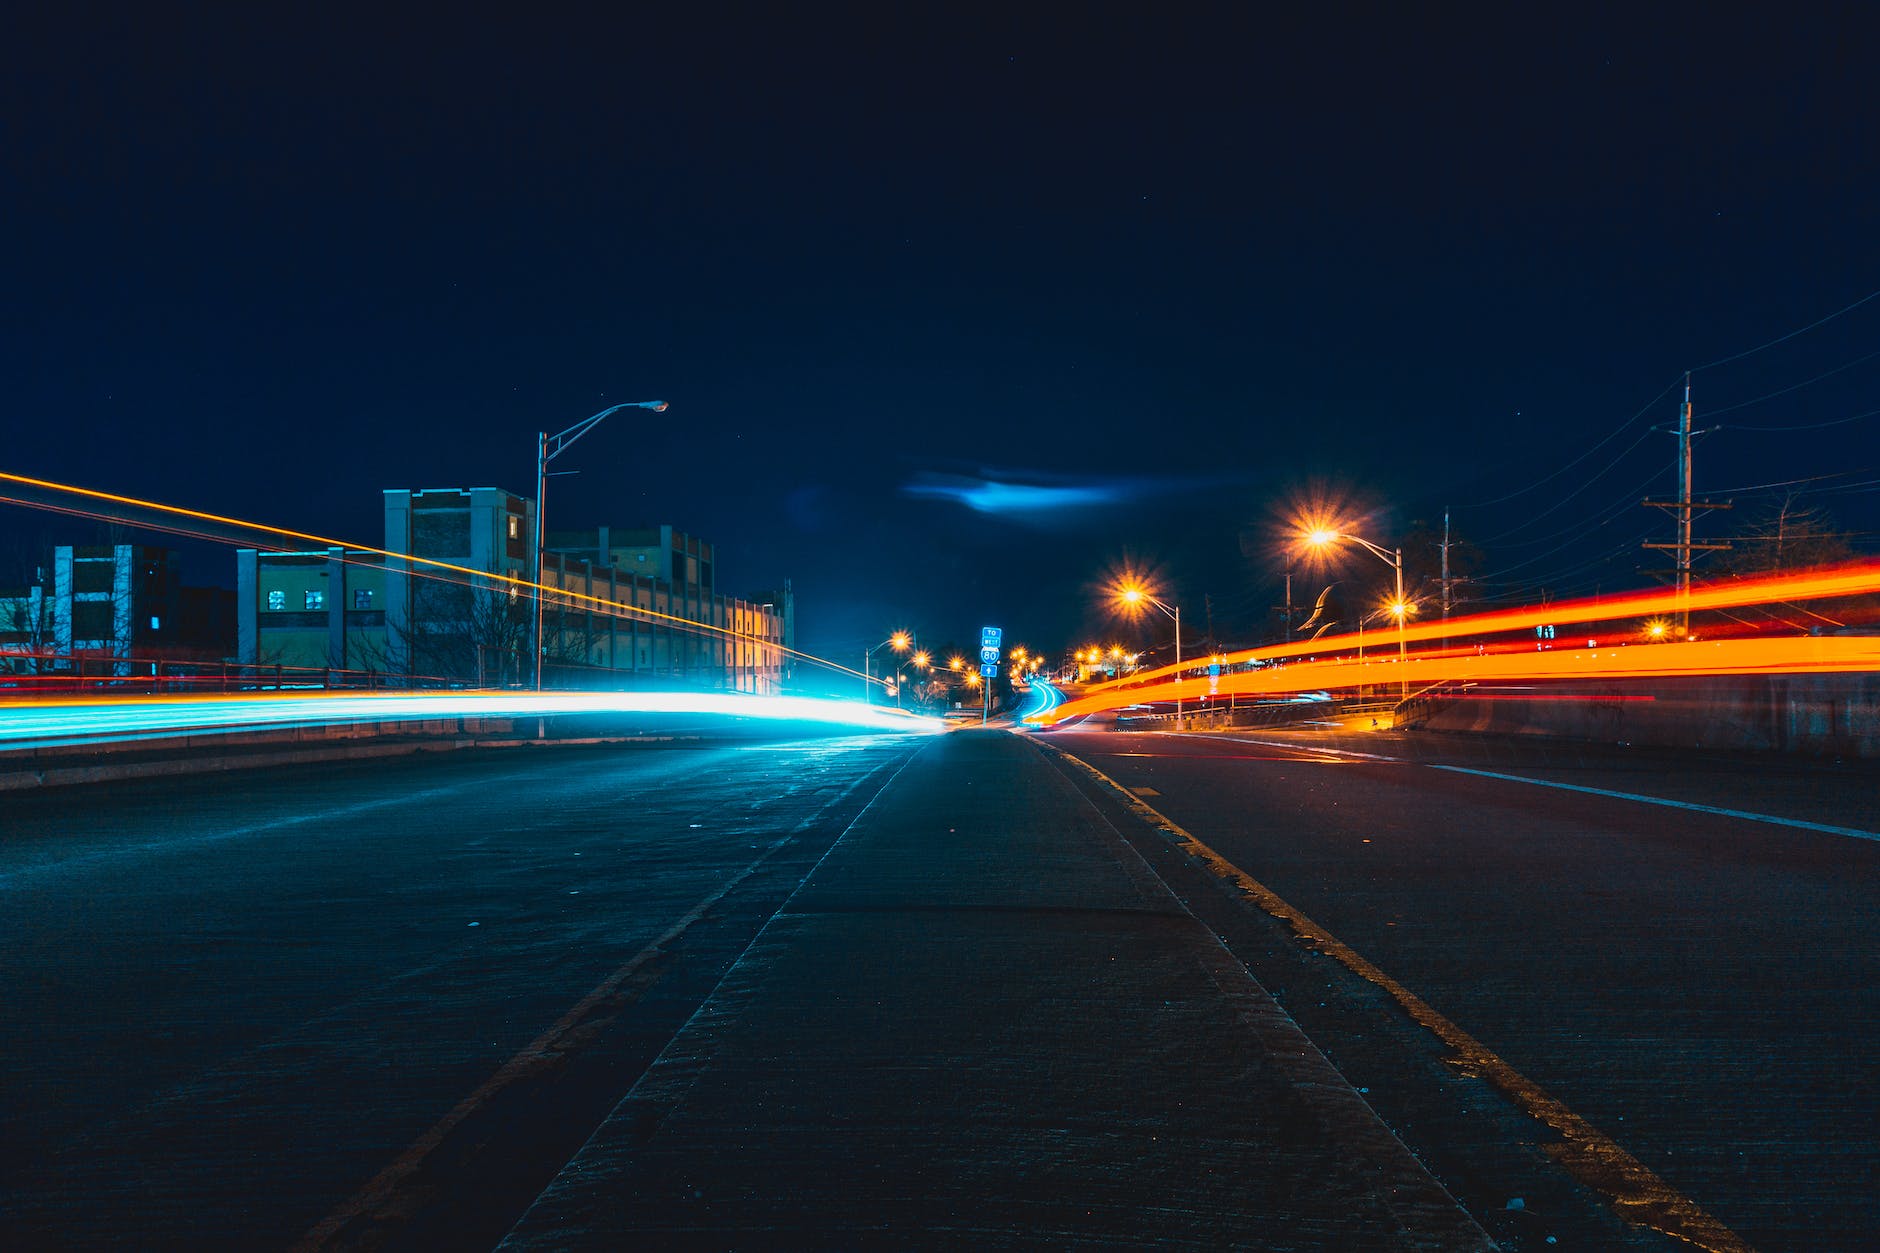
- Creating a Visual Path: Leading lines are powerful compositional tools that draw the viewer’s eye towards a specific part of the image, usually the main subject or the horizon. They create a sense of movement and flow within the frame.
- Natural and Man-Made Lines: These can be anything from the curves of a river, the lines of a bridge, to the trails of light in urban settings. The key is to use them intentionally to lead the viewer through the photograph.
Rule of Thirds: A Guideline for Balanced Composition
- The Basics: Imagine your image divided into nine equal segments by two vertical and two horizontal lines. Placing your main subject along these lines or at their intersections can create a more aesthetically pleasing composition.
- Application in Long Exposure: This rule can be particularly helpful in balancing different elements in long exposures, like a still subject against a blurred background, or the horizon in a landscape.
Additional Composition Techniques
- Framing Within a Frame: Use natural or architectural elements to frame your subject, adding depth and context.
- Symmetry and Patterns: In certain scenes, symmetry can create a visually pleasing and impactful image. Look for reflections, architectural elements, or natural patterns.
- Negative Space: Sometimes, the power of an image lies in what you choose to leave out. Using negative space effectively can create a sense of calm and simplicity.
Conclusion
In long exposure photography, composition and framing are as crucial as the technical aspects. They can transform a technically correct photograph into a compelling story or a visually stunning piece of art. By mastering these elements, you can elevate your long exposure photography and capture not just images, but emotions and experiences.
Long Exposure Photography Tips
Long exposure photography is as much about planning and experimentation as it is about the actual shooting. Here are some expanded tips to help you capture those stunning long exposure shots.
Plan Your Shoot: Preparation is Key
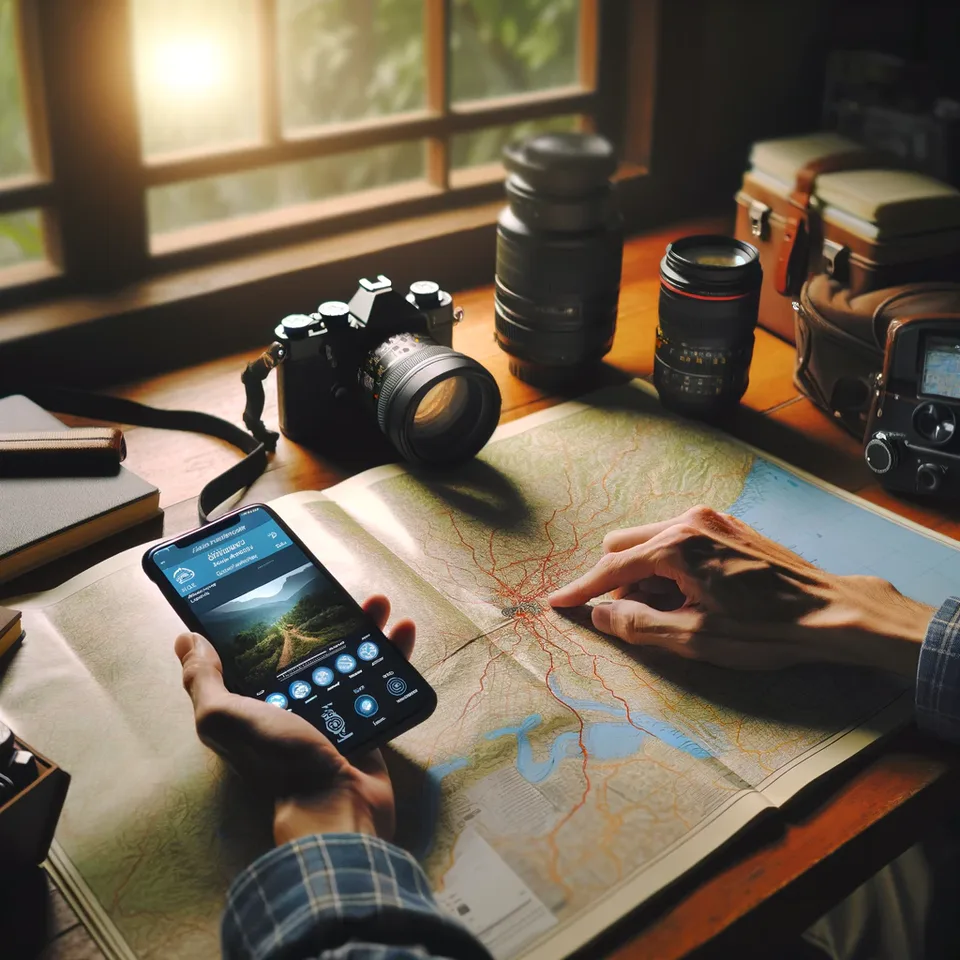
- Researching Locations: Before you head out, research potential locations. Look for places that have interesting moving elements like water, clouds, or traffic, and consider how they might look with long exposures.
- Checking Weather Conditions: The right weather conditions are crucial for long exposure photography. For instance, partially cloudy days can create dynamic skies, while clear nights are ideal for capturing star trails.
- Understanding Light Levels: Be aware of the light levels at your chosen location and time. The amount of available light will determine your camera settings, particularly your shutter speed and ISO.
Experiment with Timing: Finding the Perfect Exposure
- Varying Shutter Speeds: Experiment with different shutter speeds to see how they affect the movement in your photos. For example, a 2-second exposure will blur moving water differently than a 30-second exposure.
- Adjusting to Changing Conditions: Light levels can change rapidly, especially during sunrise or sunset. Be prepared to adjust your settings accordingly.
- Taking Test Shots: Don’t hesitate to take test shots to check your framing and exposure. This can save time and help you achieve the desired effect more efficiently.
Use a Viewfinder Cover: Avoiding Light Leaks
- Understanding Light Leaks: During long exposures, even small amounts of light entering through the viewfinder can affect your image. This is particularly true for DSLR cameras.
- Using a Viewfinder Cover: Most DSLRs come with a built-in or attachable viewfinder cover. Use it to prevent unwanted light leaks. If your camera doesn’t have one, you can use a piece of opaque tape or cloth as a temporary solution.
Additional Long Exposure Photography Tips
- Focus Before Setting the Exposure: Auto-focus can struggle in low light conditions. Focus manually before switching to a long exposure, or use auto-focus and then switch to manual to lock the focus.
- Keep Spare Batteries Handy: Long exposures and cold conditions can drain batteries quickly. Always have spare batteries fully charged and ready.
- Patience is a Virtue: Long exposure photography often requires waiting for the right moment and conditions. Patience is essential, so take your time and enjoy the process.
Conclusion
Long exposure photography is a fascinating pursuit that combines technical skill with artistic vision. By planning your shoot, experimenting with different timings, and taking measures like using a viewfinder cover, you can capture stunning, time-bending images. Each long exposure shot is a unique experience, so embrace the process and let your creativity flow.
Post-Processing
After capturing your long exposure shots, post-processing plays a crucial role in bringing out the best in your images. It allows you to refine and enhance the details, colors, and overall mood of your photographs. Let’s delve deeper into the post-processing techniques specifically beneficial for long exposure photography.
Editing Software: Refining Your Images
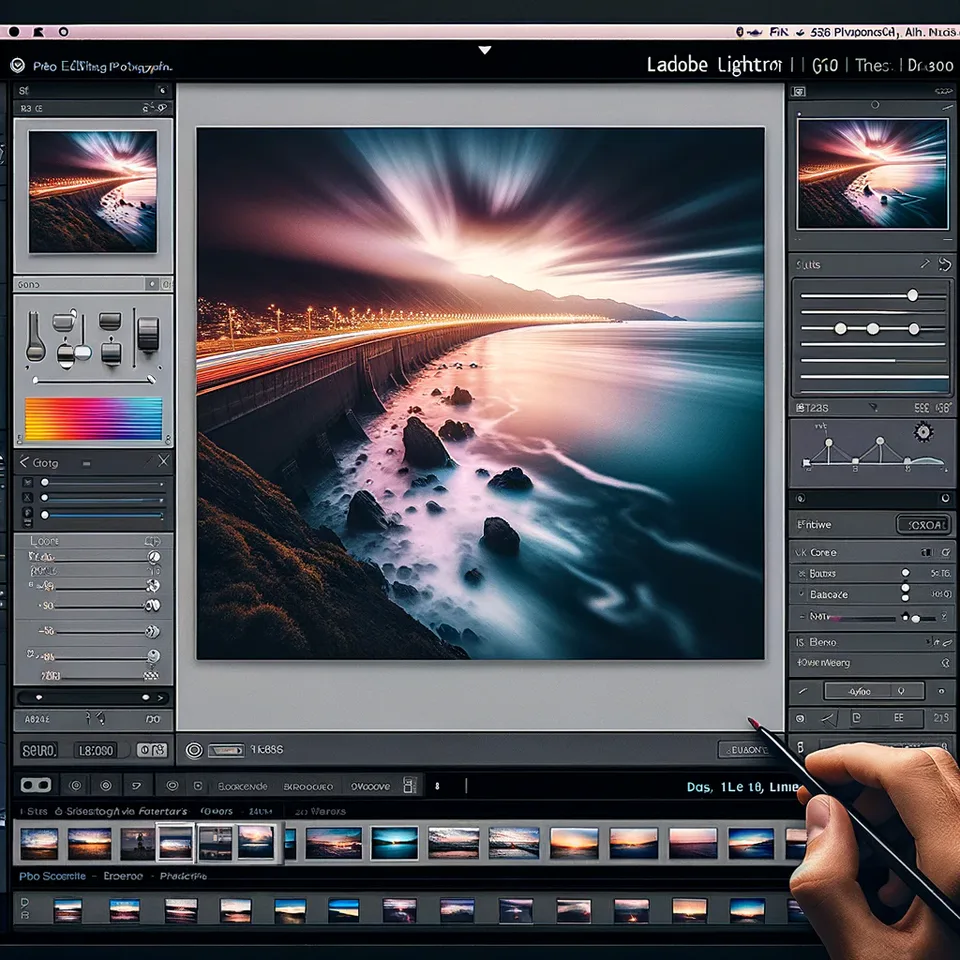
- Choosing the Right Software: Adobe Lightroom and Photoshop are popular choices for post-processing, offering a wide range of tools to enhance your images. Other software like Capture One or Affinity Photo also provides excellent capabilities.
- Exposure Adjustments: Long exposure photos may require adjustments in exposure to achieve the desired look. Tools in these software allow for precise control over highlights, shadows, and mid-tones.
- Contrast and Color Balance: Adjusting the contrast can help make your image pop, bringing out the details. Color balance is essential to ensure the colors in your image accurately reflect the scene or to create a specific mood.
Noise Reduction: Dealing with Long Exposure Noise
- Understanding Noise in Long Exposures: The longer your camera’s sensor is exposed to light, the more likely it is to introduce noise, particularly in the shadow areas or in low-light conditions.
- Software Tools for Noise Reduction: Most editing software offers noise reduction tools. These tools help in smoothing out the grain without losing significant details.
- Balancing Noise Reduction and Sharpness: While reducing noise, be careful not to overdo it as it can lead to a loss in image sharpness. A balance should be struck between reducing noise and maintaining image detail.
Advanced Post-Processing Techniques
- HDR Processing: For scenes with high dynamic range, like a cityscape at night, consider blending multiple exposures of different lengths to capture both highlights and shadows effectively.
- Dodging and Burning: These are techniques used to selectively brighten (dodge) or darken (burn) areas of the image to direct the viewer’s attention or enhance composition.
- Sharpening: Apply sharpening to enhance the details. This should be done judiciously, as excessive sharpening can exacerbate noise.
Tips for Effective Post-Processing
- Work in RAW Format: Shooting in RAW gives you more control and flexibility in post-processing compared to JPEG.
- Use Presets Sparingly: While presets can be a starting point, customize adjustments to suit each individual image for best results.
- Keep It Natural: Aim for adjustments that enhance the photo while keeping it looking natural and true to the scene.
Conclusion
Post-processing is an integral part of long exposure photography. It allows photographers to realize their artistic vision and overcome some of the limitations encountered during shooting. By mastering these editing techniques, you can elevate the quality of your long exposure photographs, creating images that are both technically sound and visually stunning.
Conclusion
Long exposure photography opens up a world of creative possibilities, allowing you to visualize the passage of time in a single frame. It’s a technique that requires patience and practice, but the results are rewarding, often producing awe-inspiring and dreamlike imagery.
Remember, the key to success in long exposure photography is experimentation. Each setting and scene is unique, so don’t hesitate to try different combinations of shutter speeds and apertures. Embrace the learning process and let your creativity flow.