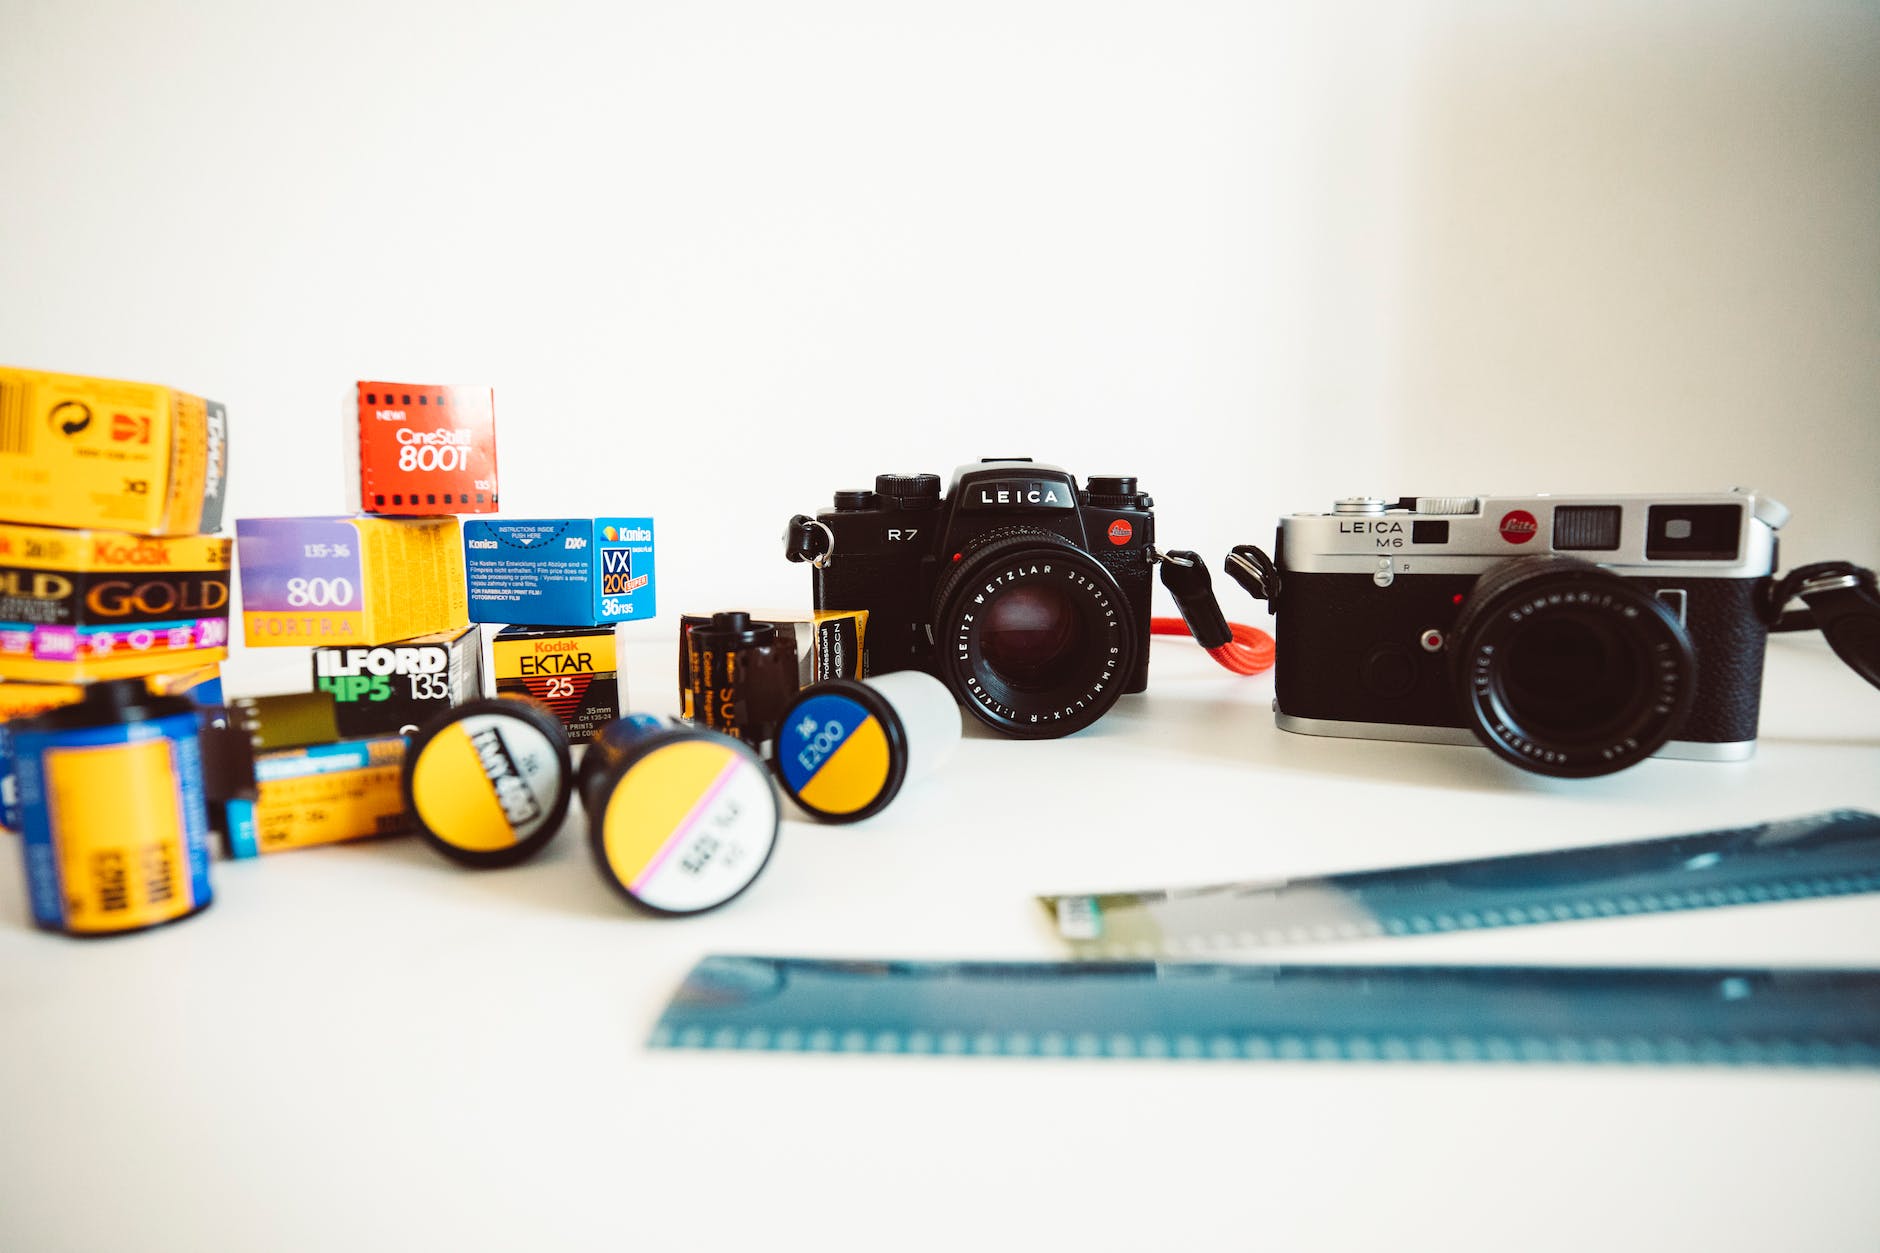
Welcome, shutterbugs and photography enthusiasts! Today, we embark on a journey into the technical wonders of ISO, a crucial element in the triumvirate of exposure settings alongside aperture and shutter speed. ISO, or International Organisation for Standardisation, determines your camera sensor’s sensitivity to light. Let’s unravel the mysteries and explore how mastering ISO can elevate your photography game and the art of visual storytelling.
ISO Basics
ISO is measured in numbers – the lower the number, the less sensitive the sensor is to light, and vice versa. Common ISO values range from 100 (low sensitivity) to 6400 and beyond (high sensitivity). Now, why does sensitivity matter? Well, it’s the key to capturing stunning shots in various lighting conditions.
Low ISO (100-400)
Low ISO settings are your go-to for well-lit scenes, such as a sunlit landscape or a bright studio. The result? Crisp images with minimal noise. However, the drawback is a slower shutter speed may be needed, making it challenging for fast-paced subjects.
Medium ISO (400-800)
This range is your versatile middle ground, suitable for overcast days or indoor shooting. You strike a balance between image quality and the ability to freeze some motion without introducing excessive noise.
High ISO (800+)
When light is scarce, high ISO comes to the rescue. Think of shooting at dusk or capturing the ambiance of a dimly lit restaurant. The trade-off? Increased sensitivity introduces noise or grain, affecting image clarity.
ISO in Action: Real-Life Scenarios
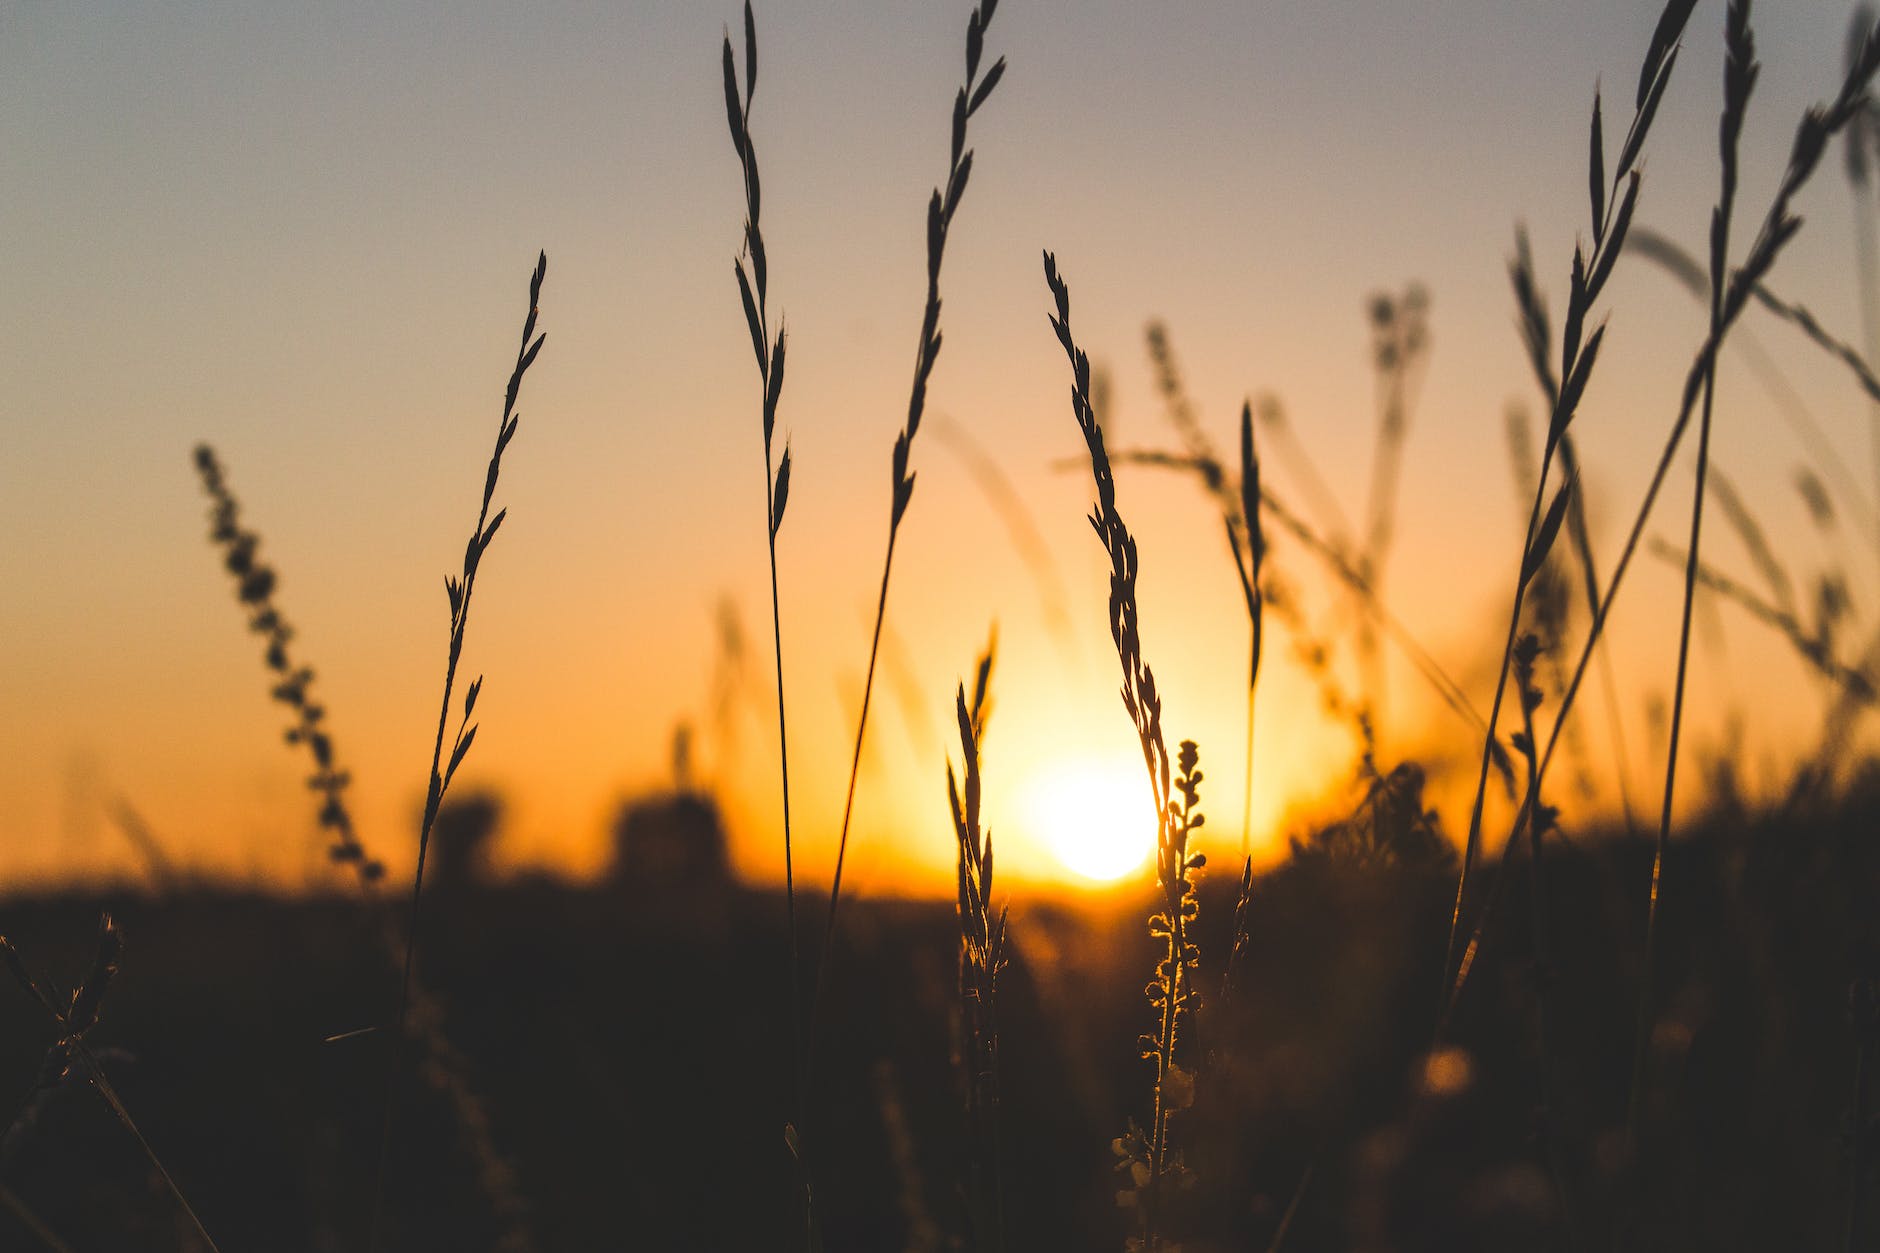
Scenario 1: Golden Hour Glory
Imagine you’re capturing the warm hues of a sunset during the golden hour. Start with a low ISO (100-200) to maintain image quality in ample light. Pair it with a wider aperture and slower shutter speed for that dreamy, golden glow.
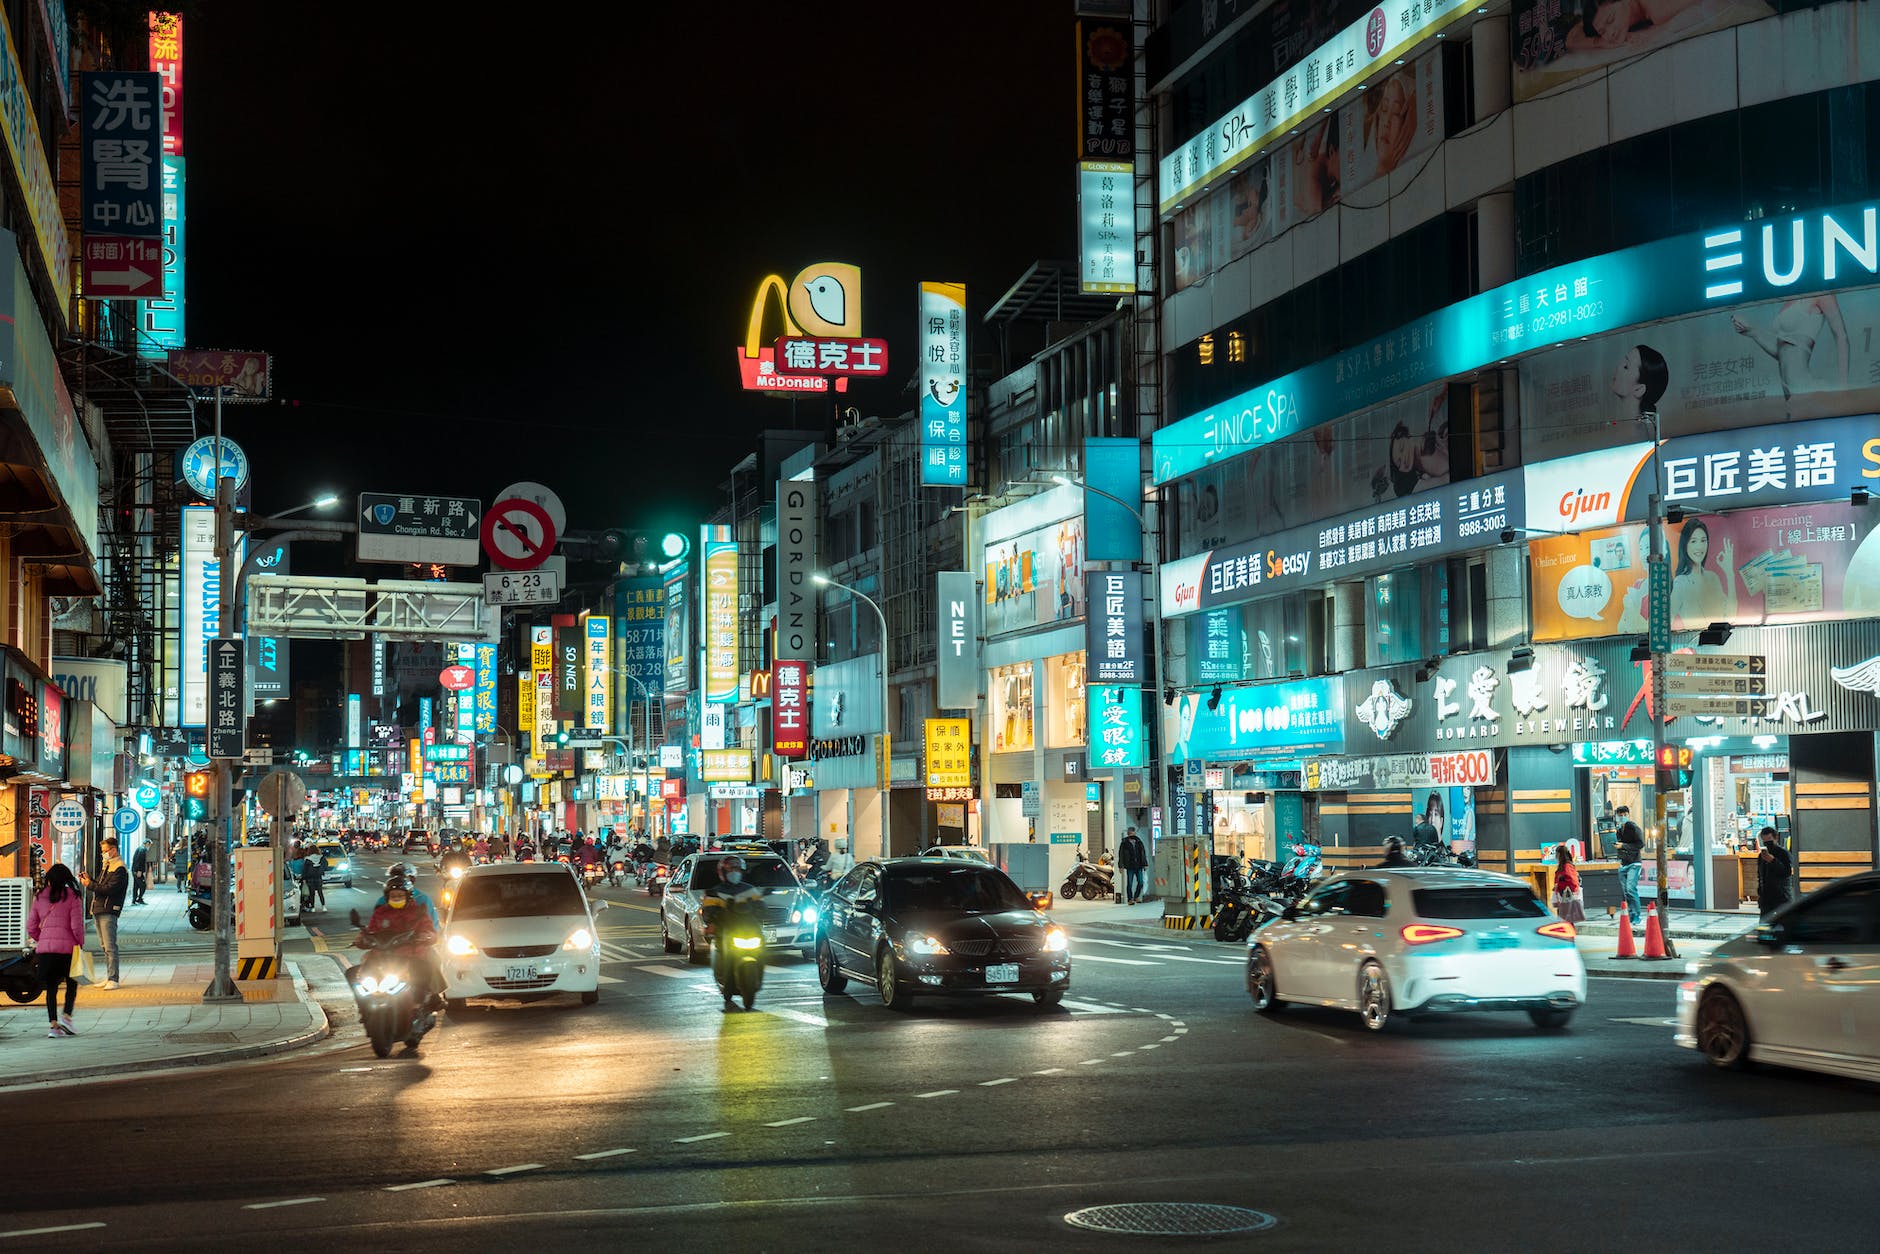
Scenario 2: Nighttime Adventures
As darkness falls, crank up the ISO to accommodate the low light. Opt for a higher ISO (800-1600) to ensure your camera captures the nuances of the night without sacrificing detail. Combine it with a wide aperture and steady hands or a tripod.
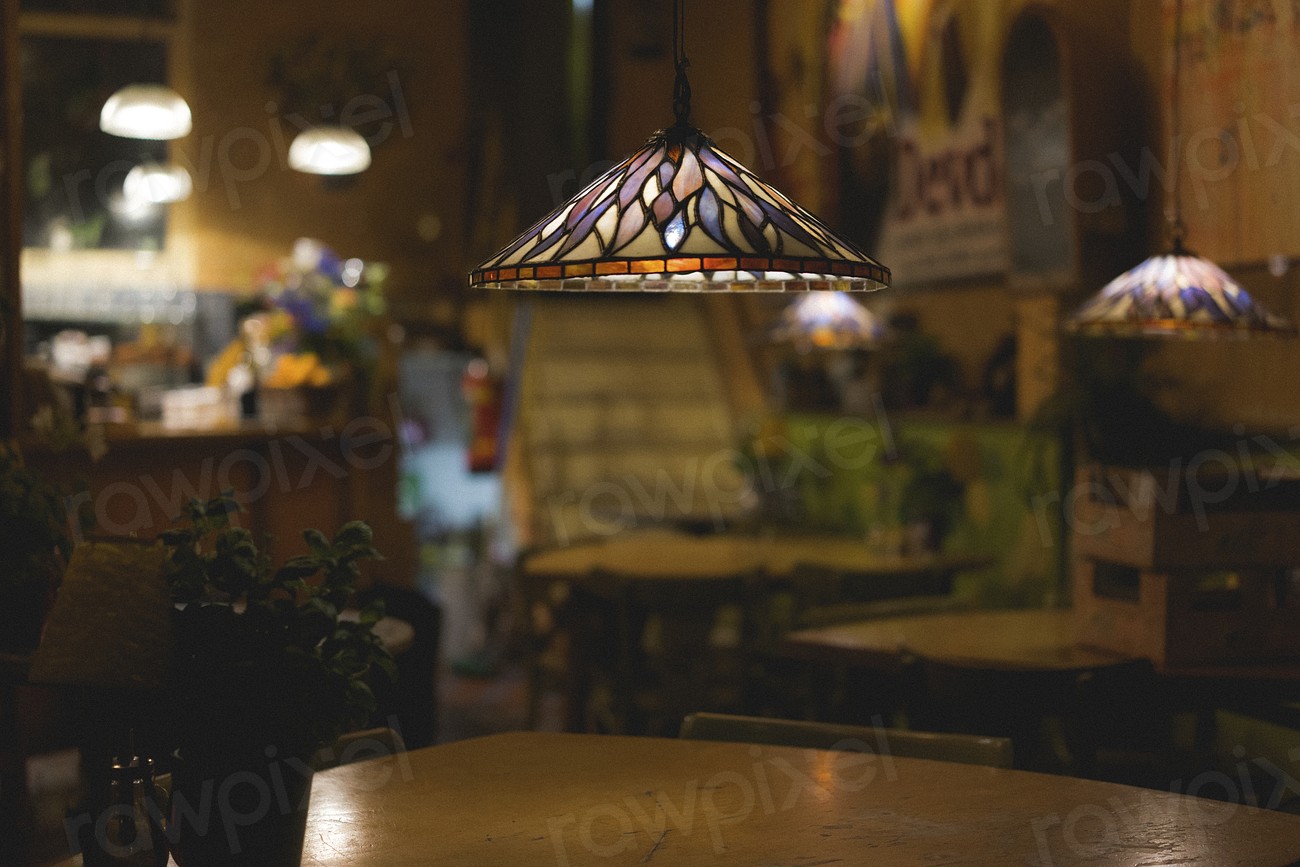
Scenario 3: Indoor Intimacy
In a cozy indoor setting, strike a balance with a medium ISO (400-800). This allows you to maintain a good exposure without introducing excessive noise. Complement it with a suitable aperture and shutter speed for optimum results.
ISO and Noise: The Delicate Dance
While higher ISO settings empower you to shoot in challenging lighting, they come at a cost – noise. Noise, akin to film grain, manifests as unwanted specks in your images. The art lies in finding the sweet spot – the highest ISO that delivers an acceptable level of noise for your intended output.
Advanced Techniques: ISO Bracketing
Just as exposure bracketing captures a range of exposures, ISO bracketing involves taking shots at varying ISO levels. This technique is valuable in post-processing, allowing you to choose the best balance between noise and detail.
ISO and Post-Processing
Understanding ISO’s impact on your images is crucial in post-processing. Software tools like Lightroom offer noise reduction features, helping you strike the right balance between preserving detail and minimising noise.
Conclusion
There you have it – a journey into the intricate realm of ISO. Whether you’re capturing the serenity of a sunrise or the vibrancy of a bustling city at night, mastering ISO opens doors to creative possibilities. So, fellow photographers, embrace the technical dance of ISO, let it be your ally in crafting visually stunning tales through the lens. Happy shooting!