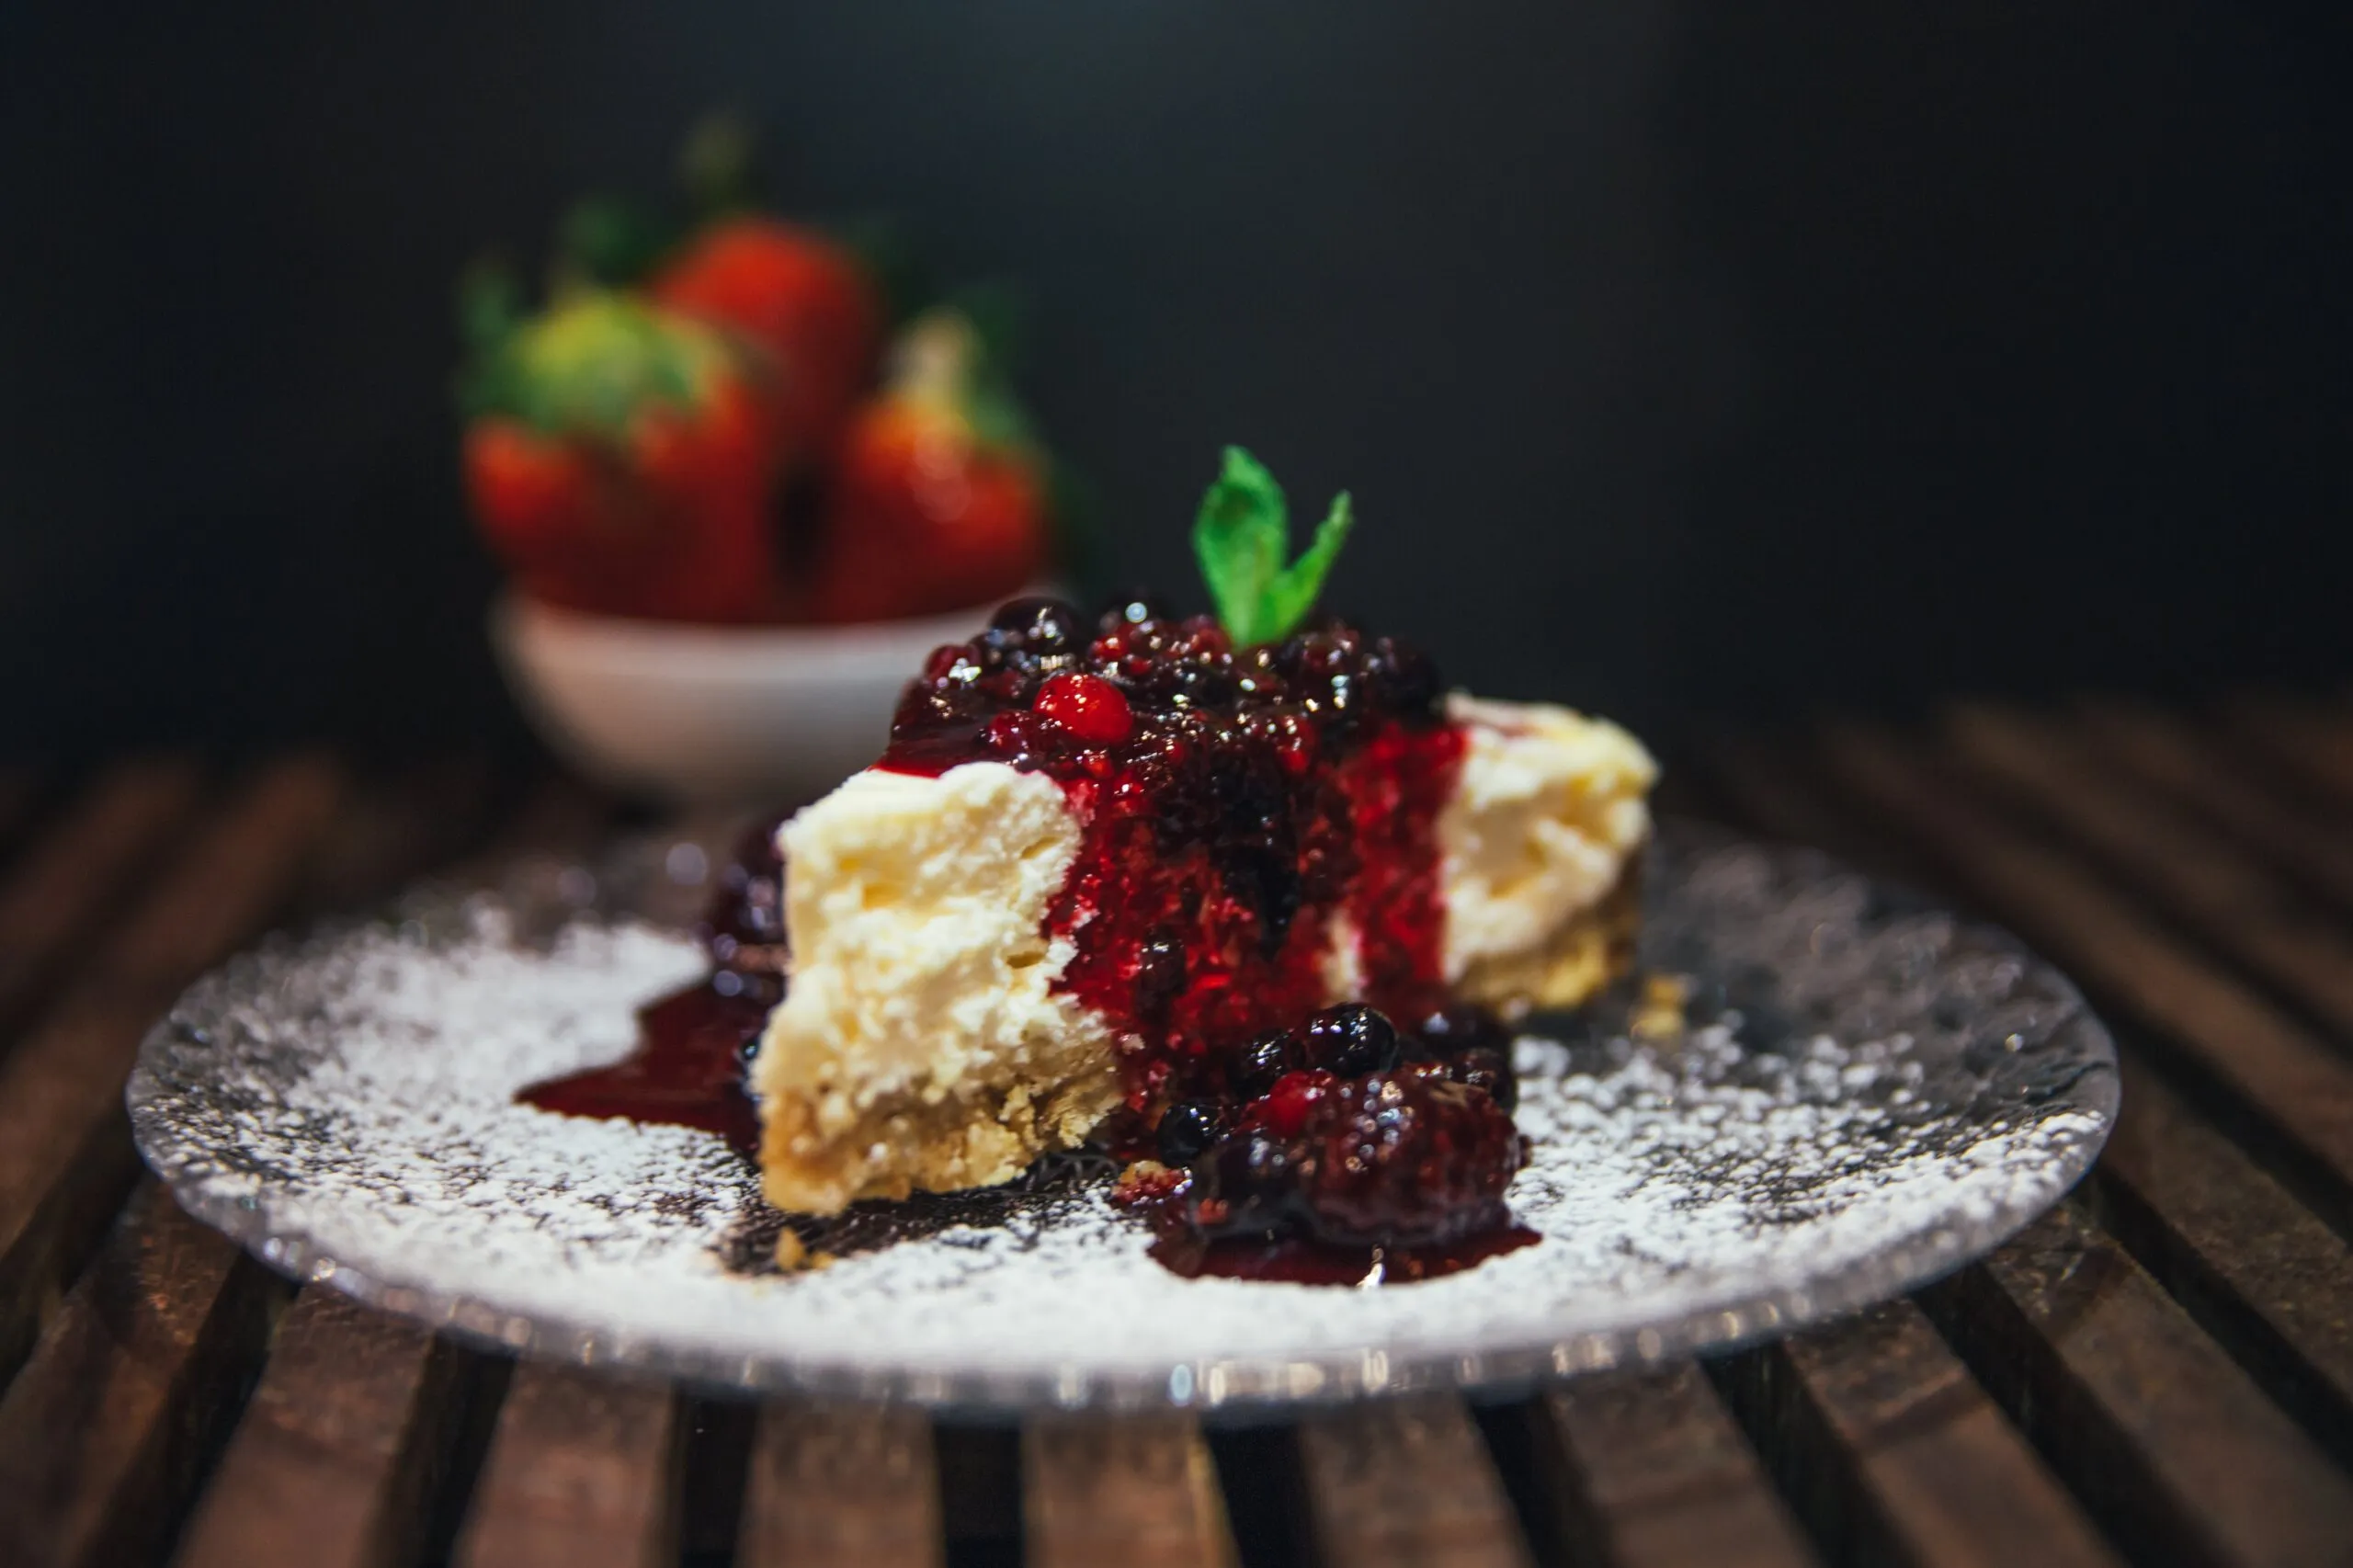
Food photography contains a deadline. Steam fades, sauces skin over, herbs wilt and somebody wants to eat.
Find one reliable patch of light
Place food beside a window rather than facing it. Side light reveals crust, sauce, folds and crumbs. Turn off strongly coloured ceiling lights.
Use a surface that belongs to the food
A board, table, baking tray or plain cloth is enough. Move clutter that competes and keep objects that explain serving or scale.
Decide where the appetite lives
Is the important detail a crisp edge, glossy sauce, soft centre or colour contrast? Position and focus should reveal it.
Style less and prepare more
Wipe accidental splashes and arrange the main pieces. Do not add ingredients that are not in the food merely for colour.
Food should look ready to eat, not preserved for inspection.
Create a five-minute setup
- Clear one surface beside the chosen light.
- Set the background and empty plate before serving.
- Choose the first overhead or three-quarter frame.
- Serve, tidy quickly and make the establishing picture.
- Move closer for texture, then eat.
The budget principle
White card can lift shadow. Greaseproof paper can soften a small window. Spend first on ingredients and a repeatable surface.